
To seal gaps between a door frame and wall, first identify where the opening is: along the trim, behind the casing, or between the closed door and its frame. A gap around a door frame can let in drafts, dust, insects, or outdoor odors. The right repair depends on where the gap is—not just how wide it looks. A narrow crack between the trim and the wall usually needs a compatible caulk. A draft coming from behind the trim may require air-sealing the hidden space between the door jamb and the rough opening. If air passes between the closed door and its frame, weatherstripping is usually the better fix.
This guide explains how to identify the problem, choose a suitable material, seal the gap, and avoid repairs that damage the frame or interfere with water drainage.
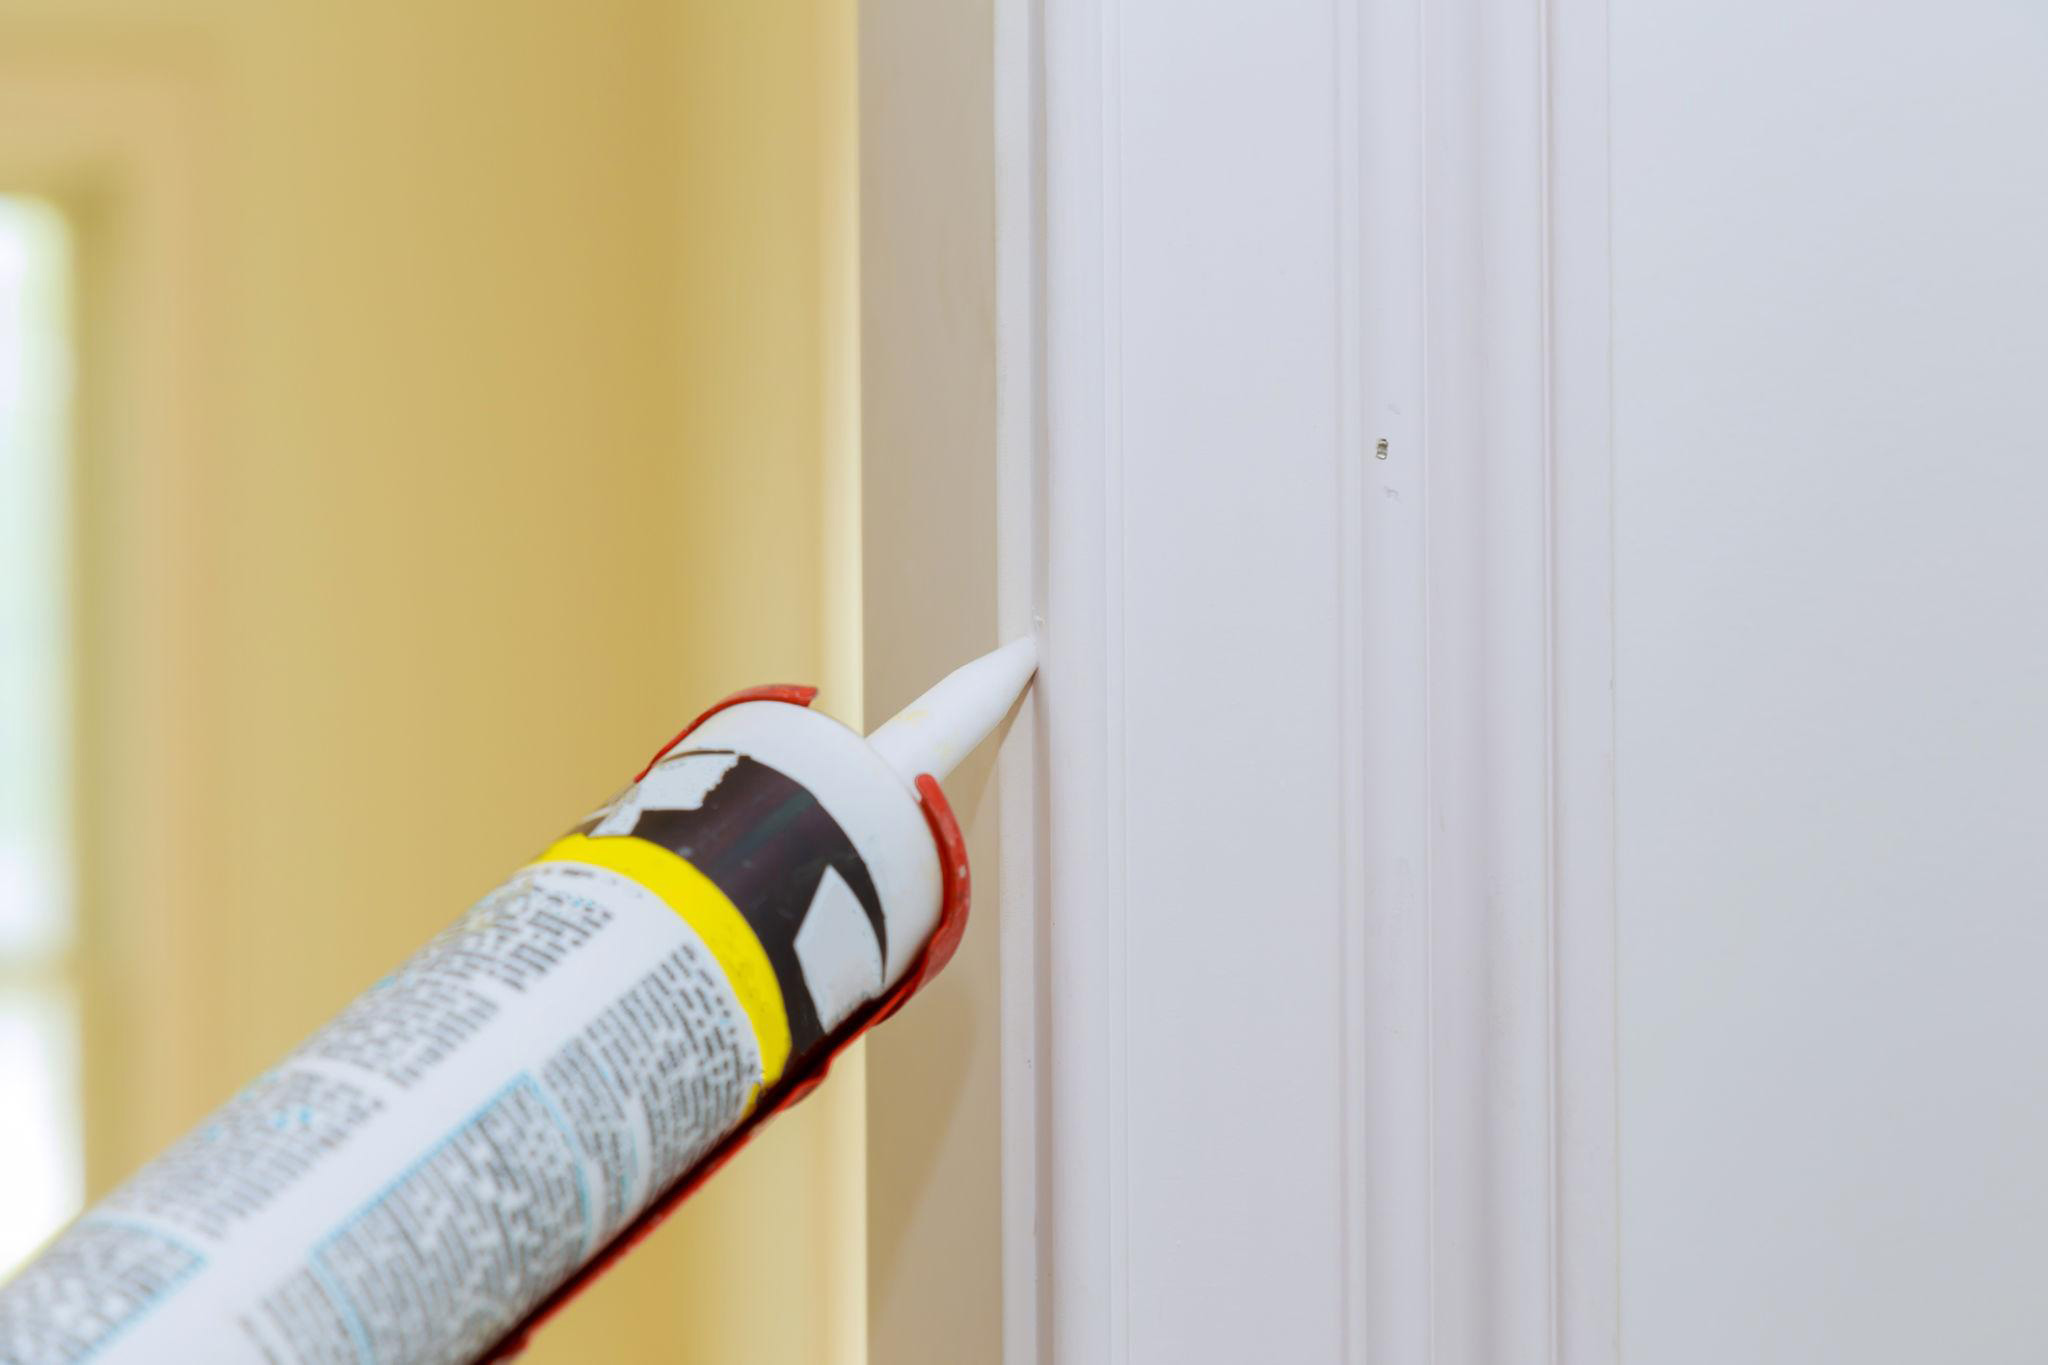
Quick answer: Use paintable caulk for a small, stationary joint between interior trim and the wall. For a larger or hidden gap behind the casing, use an appropriate closed-cell backer rod or low-expansion foam made for doors and windows, following the product instructions. Use weatherstripping for gaps around the moving door and a door sweep for the bottom. Repair rot, water intrusion, or a shifting frame before sealing anything.
First, Identify Which Gap You Need to Seal
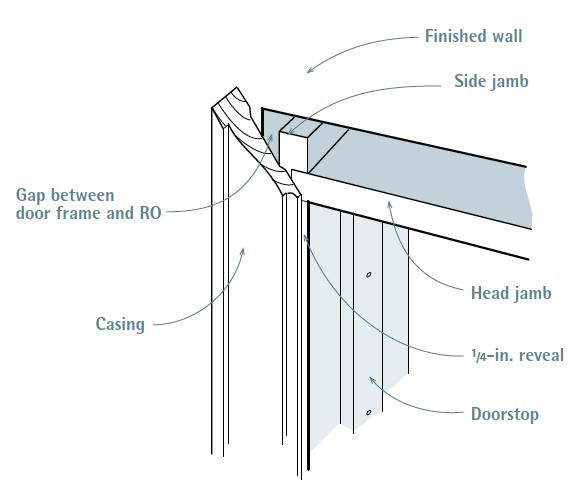
People often use “door frame” to describe several different parts. The jamb is the part of the frame that the door closes against. The casing or trim is the decorative molding that covers the joint between the frame and the wall. The rough opening is the space between the installed frame and the surrounding wall framing.
Check the door with it both open and closed. Look at the following locations:
Where You See or Feel the Gap Likely Issue Typical Approach A thin, visible crack where the casing meets drywall or plaster Failed or missing finish caulk Compatible paintable caulk for an interior joint Air seems to come from behind the casing An unsealed space between the jamb and rough opening Carefully access the gap; use suitable backer rod or door-and-window foam A gap between the closed door and the jamb or stop Worn weatherstripping, loose hardware, or a misaligned door Check alignment and replace or adjust weatherstripping A gap beneath the door Worn sweep, threshold, or uneven floor Inspect the sweep and threshold A gap with dampness, soft wood, staining, or a loose frame Possible water damage or installation problem Find and fix the underlying cause before sealing
The U.S. Department of Energy distinguishes caulk, which is generally used on stationary joints, from weatherstripping, which seals moving parts such as doors. Its air-sealing guidance is a useful starting point.
Choose the Right Material
Do not choose a product based only on the size of the visible crack. Consider the joint’s location, the adjoining materials, whether the joint moves, and whether it is exposed to weather.
- Paintable interior caulk: A practical choice for small, stationary joints between painted casing and an interior wall. Confirm that the product is compatible with both surfaces and can be painted if needed.
- Exterior-rated sealant: Use only a product suitable for the door, siding, masonry, or trim materials involved and for the expected weather exposure. Follow the door manufacturer’s installation details.
- Closed-cell foam backer rod: Useful for appropriately sized wider or deeper joints when the sealant system calls for a backing material. The rod should fit securely without being forced so hard that it bends the frame.
- Low-expansion door-and-window foam: Can seal suitable hidden gaps between the jamb and rough framing. Choose a product specifically labeled for doors and windows; ordinary high-expansion foam can distort the jamb and affect door operation.
- Weatherstripping: Intended for the contact area between a closed, moving door and its frame.
- Door sweep: Fits along the bottom of the door to reduce drafts through the under-door gap.
For concealed rough openings, the Building America Solution Center’s air-sealing guidance recommends materials such as caulk, foam backer rod, or low-expansion foam intended for doors and windows. It also warns against relying on fibrous insulation alone as an air barrier.
Tools and Materials to Prepare
For a small trim-to-wall repair, you may need:
- Compatible caulk or sealant and a caulking gun
- A caulk scraper or putty knife
- A utility knife
- A brush, cloth, and suitable surface cleaner
- Painter’s tape
- Work gloves and eye protection
- Backer rod or door-and-window foam, if the gap requires it
Removing trim to access a hidden gap is more involved than sealing a surface crack. Check the product label for compatible surfaces, application temperature, ventilation, curing time, and required protective equipment.
Important for older homes: Houses built before 1978 may contain lead-based paint. Cutting or scraping painted trim can create hazardous dust. Before disturbing old paint, review the EPA’s lead-safe renovation guidance. If paint status is uncertain, hire a lead-safe professional. For covered paid work in pre-1978 housing, the federal Renovation, Repair and Painting (RRP) Rule generally requires contractors to be certified, subject to exemptions. EPA recommends lead-safe practices for DIY work as well.
Step 1: Inspect the Door and Locate the Air Leak
Start with a visual inspection. Look for a continuous crack along the casing, missing sealant, gaps around the jamb, worn weatherstripping, and visible daylight around the closed door.
If the door is hard to close, rubs against the frame, or will not latch properly, check the hinges, latch, and alignment before adding material. A sealant will not correct a sagging or misaligned door.
If you suspect air movement but cannot see a gap, use a suitable smoke pencil according to its instructions. Avoid using an open flame to test for drafts. A simple paper test can also help assess contact at the moving edge: close the door on a strip of paper and see whether it slips out easily in places where the weatherstripping should grip it.
Step 2: Check for Moisture or Frame Damage
Before sealing the joint, inspect the trim, jamb, nearby wall, threshold, and exterior siding if accessible. Look for soft or crumbling wood, water stains, swollen trim, peeling paint, recurring dampness, or a frame that appears loose or out of square.
If water is entering around the door, determine where it comes from. The cause may be failed flashing, a threshold problem, damaged siding, or another building-envelope issue. Caulk applied over the visible crack may hide the symptom without stopping the water.
Stop and seek professional advice if the frame is moving, the wood is significantly damaged, the opening is unusually large, or moisture keeps returning. Repair the underlying problem before applying a new seal.
Step 3: Clean and Prepare the Joint
For a small surface crack:
- Remove loose or failed caulk with an appropriate scraper.
- Cut away old sealant carefully, avoiding damage to the casing, wall finish, or frame.
- Brush away dust and debris.
- Clean the surfaces with a compatible cleaner.
- Let the joint dry fully before applying new material.
Do not apply fresh caulk over loose sealant, dust, or damp surfaces. Poor preparation can cause the new bead to separate. If the repair involves painted trim in an older home, follow lead-safe precautions before disturbing the paint.
Step 4: Caulk a Small Gap Between the Trim and Wall
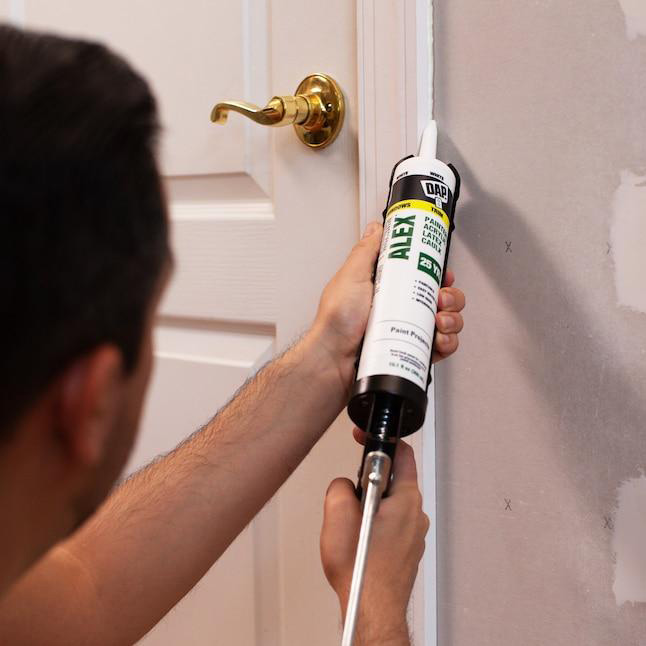
Caulk is usually the simplest option when the gap is a narrow, stationary joint between the casing and the interior wall.
- Confirm that the selected caulk is compatible with both surfaces and suitable for the room.
- Apply painter’s tape along the edges of the joint if you want a neater finish.
- Cut the nozzle at an angle, making an opening suited to the joint and the product instructions.
- Apply a steady bead along the gap, keeping the sealant in contact with both sides.
- Smooth the bead with an appropriate tool according to the label.
- Remove the tape before the sealant skins over, if the product directions allow it.
- Allow the caulk to cure for the time specified by the manufacturer before painting or exposing it to moisture.
Follow the product’s stated limits for joint size. If the gap is too wide or deep for the sealant to bridge reliably, do not keep adding caulk; use a suitable backing material or investigate the hidden opening.
Avoid caulking over hinges, latch components, or other parts that must move or remain accessible.
Step 5: Seal a Hidden Gap Behind the Casing
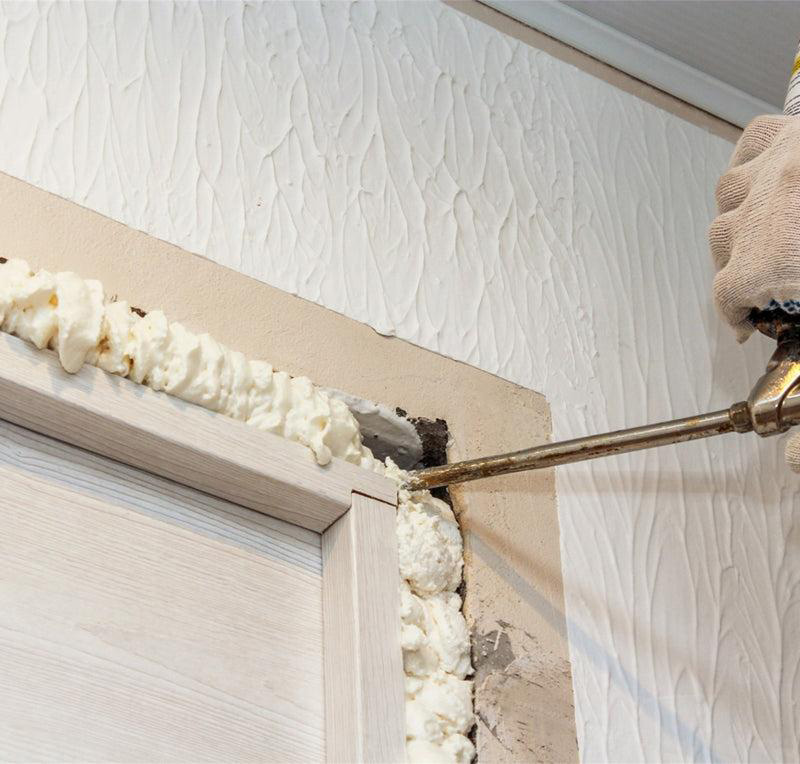
If a draft appears to come from behind the trim, the visible crack may not be the actual air-leak path. The gap may be between the jamb and the rough opening behind the casing.
Removing trim is a moderate-to-difficult DIY task, so proceed only if you can do it safely without damaging the frame or surrounding finish.
- Carefully loosen and remove the interior casing using an appropriate trim tool.
- Inspect the exposed gap and look for moisture, damaged framing, or loose material.
- Choose a suitable closed-cell backer rod, compatible sealant, or low-expansion foam specifically designed for doors and windows.
- Install the material according to the manufacturer’s instructions. Do not force backer rod deep into the gap or overfill the cavity with foam.
- Keep the jamb straight and check that the door remains aligned. Excessive pressure from tightly packed material or expanding foam can affect how the door opens and closes.
- Allow the product to cure as directed. Trim excess foam only when the label permits and it has cured sufficiently.
- Reinstall the casing and finish the visible trim-to-wall joint if needed.
Do not rely on fiberglass or other loose, air-permeable insulation alone to stop airflow. If you discover extensive damage, complicated flashing, or a frame that has shifted, bring in a qualified contractor rather than concealing the problem.
Step 6: Treat the Exterior Joint Carefully
Exterior door openings must manage both air and water. Use an exterior-rated sealant only where the installation details call for it, and confirm material compatibility.
Do not indiscriminately seal every edge of the exterior trim. Avoid blocking intentional drainage paths, weep openings, or flashing details designed to direct water out of the wall. The Building America Solution Center’s door air-sealing guidance explains that air sealing, flashing, weatherstripping, and a properly fitted door sweep work together. In many rough-opening details, the air seal is made toward the interior edge while the exterior flashing is designed to direct water outward; follow the door manufacturer’s installation details.
If water enters behind siding or through the threshold, surface caulk may not fix the cause. The flashing or water-management system may need repair. Follow the manufacturer’s instructions and hire a professional if the leak source is unclear.
Step 7: Replace Weatherstripping if the Door Itself Is Leaking
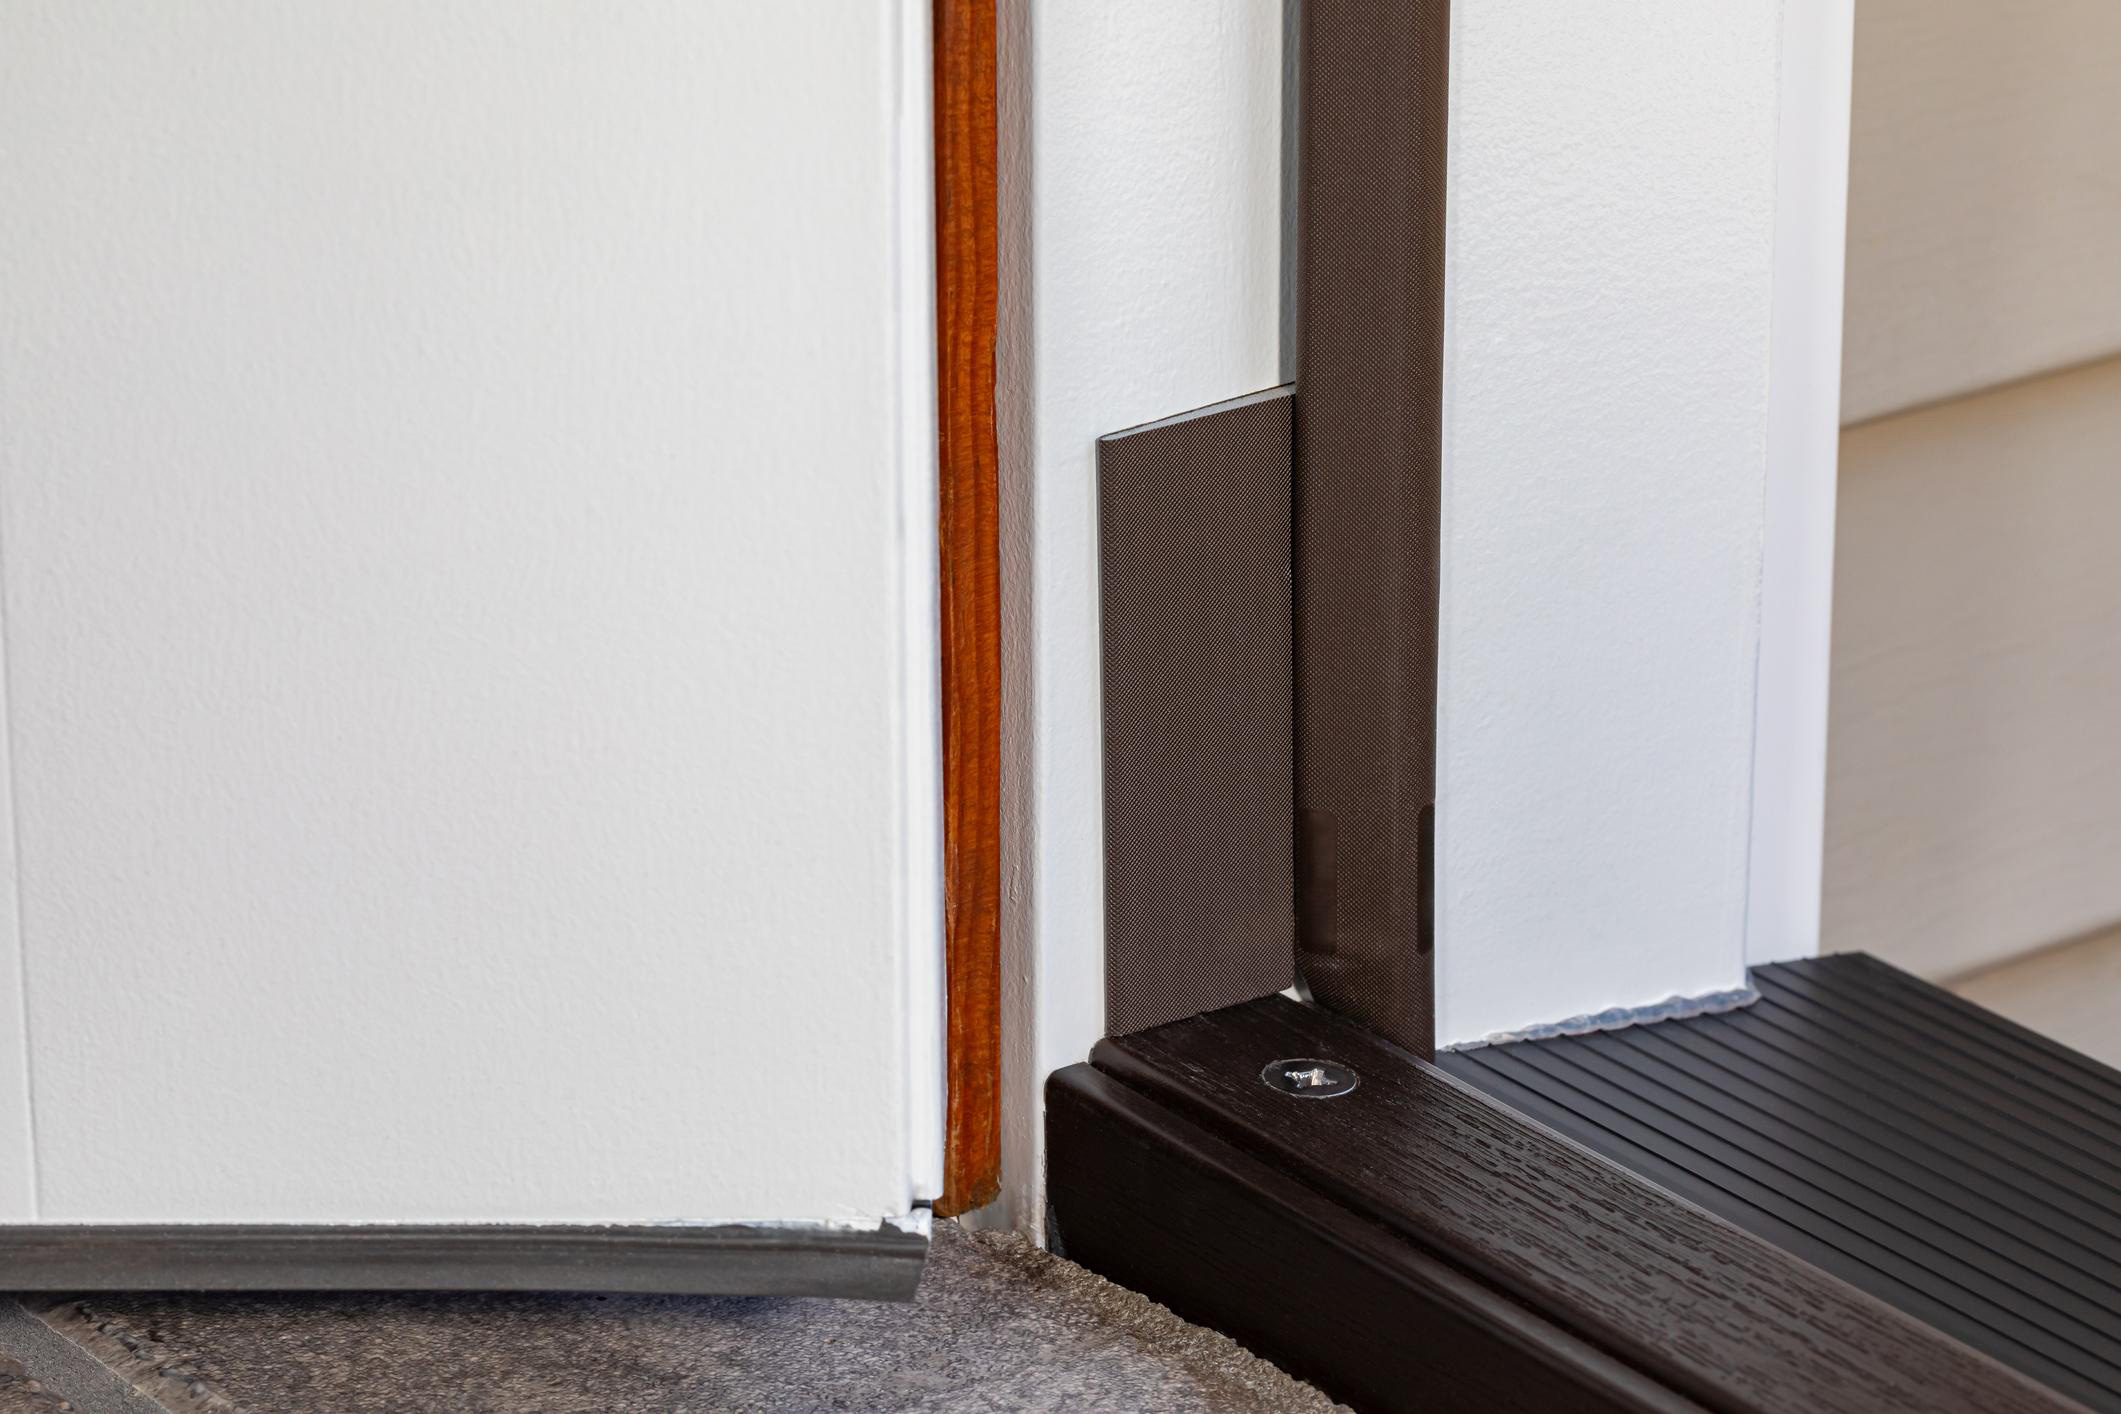
If the gap is between the closed door and its jamb—not between the frame and the wall—inspect the weatherstripping. Look for torn, flattened, missing, or loose sections. Check the hinges and latch as well, because a misaligned door may not compress the seal evenly.
Replace worn weatherstripping with a type designed for the door and frame. Measure the required lengths and install it according to the manufacturer’s instructions. The U.S. Department of Energy provides a practical guide to installing weatherstripping on an exterior door.
For a draft under the door, inspect the threshold and door sweep. Choose a sweep that reduces the gap without dragging excessively or preventing the door from opening and closing smoothly.
Step 8: Check the Repair
After the sealant or foam has cured, inspect the repair and test the door.
- The visible joint is continuous and has adhered to both surfaces.
- The repaired area is dry, with no obvious moisture damage.
- The door opens, closes, and latches normally.
- Weatherstripping contacts the door as intended.
- The sweep does not catch on the floor or prevent normal operation.
- No drainage opening or flashing detail has been blocked.
- The draft has improved at the specific location you repaired.
If the draft remains, reassess the source rather than automatically adding more caulk. Air may be entering through the moving door edges, under the threshold, behind the trim, or through another part of the wall.
Common Mistakes to Avoid
Avoid four shortcuts: do not use caulk on the moving door edge, overfill the rough opening with foam, seal over rot or recurring moisture, or block exterior drainage and flashing. If the door binds or will not latch, correct the alignment before adding sealant. These mistakes can leave the leak unresolved or create a new problem.
Frequently Asked Questions
Do I need to remove the door trim to seal the gap?
Not for every repair. A narrow crack between the casing and the wall can often be sealed from the surface. If the draft comes from the hidden gap between the jamb and rough opening, removing the interior casing may be necessary to inspect and seal that space.
Will sealing a door-frame gap lower my energy bills?
Sealing an air leak can reduce drafts and may improve comfort, but the effect on energy use depends on the home, climate, and other sources of air leakage. Do not assume that repairing one gap will produce a specific reduction in energy bills.
Final Thoughts
The most reliable way to seal gaps between a door frame and wall is to identify the leak before choosing a material. Use compatible caulk for a small trim joint, suitable backer rod or low-expansion door-and-window foam for an appropriate hidden gap, and weatherstripping or a door sweep for the moving door or bottom edge.
Prepare the surface, follow product instructions, and test the door after the repair. Fix moisture damage, failed flashing, or alignment problems first so the repair reduces drafts without damaging the frame or interfering with water management.

Royan Abdillah is a home improvement enthusiast and interior design consultant with over 9 years of experience in the industry. Passionate about blending aesthetics with functionality, Royan Abdillah specializes in unique DIY furniture and pet-friendly home solutions. Through this blog, Royan Abdillah aims to help homeowners create beautiful, personalized spaces on a budget.