
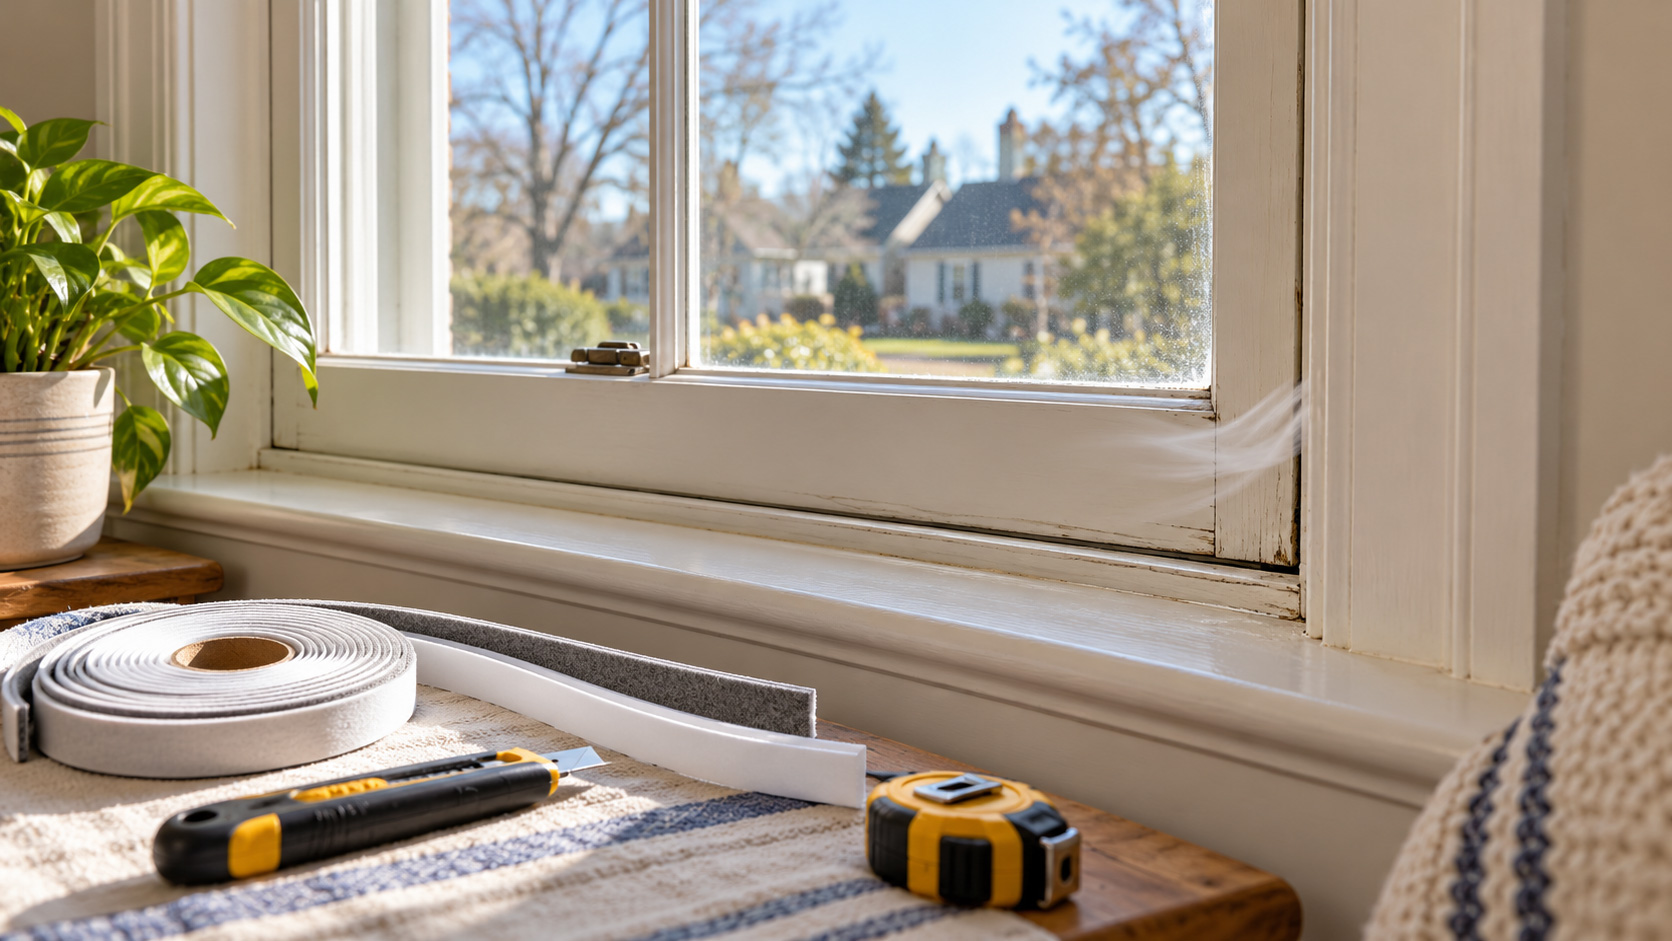
A drafty window does not always need to be replaced. In many cases, you can improve comfort by tightening a loose latch, replacing worn weatherstripping, sealing a small crack around the stationary frame, or adding removable window insulation film. The right fix depends on where the cold air is coming from—and whether you are feeling moving air or simply the cold surface of the glass.
Start by locating the leak before buying materials. Weatherstripping is designed for moving parts, caulk is for suitable stationary joints, and window film or an interior storm panel can add another layer over the glass. If the frame is rotten, water is entering, or condensation is trapped between glass panes, a simple draft-proofing repair may not be enough.
First, Confirm That You Have an Air Leak
A window can feel cold even when it is not leaking. Glass transfers heat differently from an insulated wall, so a cold surface near the window does not automatically mean outdoor air is getting inside.
Try these checks on a cool or windy day:
- **Use a tissue test.** Hold a lightweight tissue near the sash edges, the meeting rail, and the trim. Movement can help you identify a possible air-leak path.
- **Try the paper test.** Close the window on a narrow strip of paper. If the paper slides out easily at one spot, the sash may not be pressing firmly against its seal.
- **Inspect the hardware.** Check that the window closes fully, the lock engages, and the sash is not obstructed by dirt or paint buildup.
- **Look for visible damage.** Cracked caulk, flattened weatherstripping, daylight, loose trim, peeling paint, or water stains can point to a repair that needs attention.
Do not use an open flame to look for drafts. If the window is hard to open, will not stay in position, or is part of an emergency escape route, do not seal it shut as a quick fix.
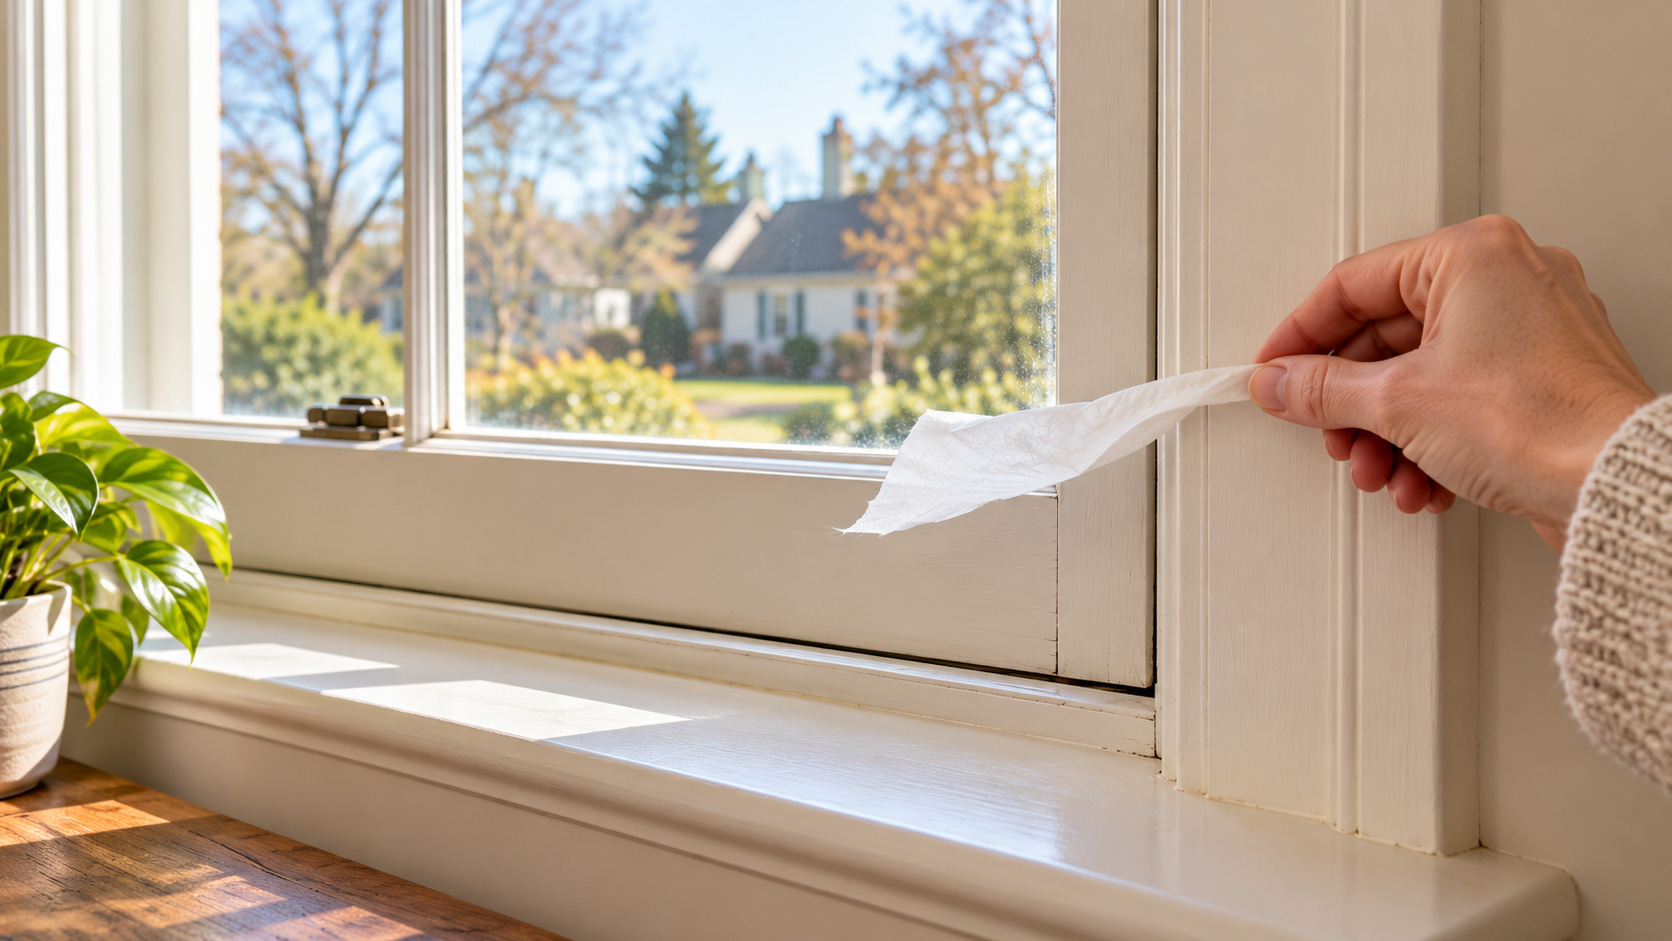
ENERGY STAR’s guide to locating air leaks (https://www.energystar.gov/saveathome/seal_insulate/do-it-yourself-guide/locating-air-leaks) also recommends checking windows and doors as part of a broader home air-sealing inspection. Major leaks may also occur in attics, basements, and other parts of the building envelope.
Match the Repair to the Problem
| What you notice | Possible cause | Best first step |
| Air moves between the sash and frame | Worn weatherstripping, a loose latch, or poor alignment | Clean the track, check the lock, and inspect the seal |
| A crack runs where the trim meets the wall | Missing or failed caulk | Remove loose material and recaulk the stationary joint |
| Air seems to come from behind the trim | An unsealed gap between the window frame and rough opening | Inspect the hidden gap; consider professional help if trim removal is needed |
| The glass feels cold but no air moves | Heat transfer through the glass rather than a clear air leak | Consider window film, an interior storm panel, or suitable insulating window coverings |
| Fog is trapped between double-pane glass | A possible failed insulated-glass seal | Ask a window professional about the glass unit |
| Wood is soft, stained, or swollen | Possible moisture intrusion or rot | Find and repair the moisture source before sealing |
This distinction matters: applying caulk to a moving sash can stop the window from operating, while adding thicker weatherstripping may prevent it from latching. For a related door problem, see our guide on how to seal gaps between a door frame and wall.
1. Clean the Window Track and Check the Lock
Start with the simplest repair. Dirt, debris, paint buildup, or a misaligned latch can stop a window from closing tightly enough to engage its weatherstripping.
- Vacuum loose dust from the track and corners.
- Wipe the frame and sash with a cleaner suitable for the material and finish.
- Let the area dry before adding adhesive-backed weatherstripping.
- Check that the sash sits evenly in the track and that the lock engages without excessive force.
- If hardware is loose or damaged, repair or replace the appropriate part before adding more seal material.
Do not force a painted-shut or stuck window. Carefully removing paint buildup may be possible, but aggressive prying can damage the sash, frame, or glass. If the window is badly warped or will not lock securely, have it assessed rather than trying to compensate with thicker seals.
2. Replace Worn Weatherstripping on Moving Parts
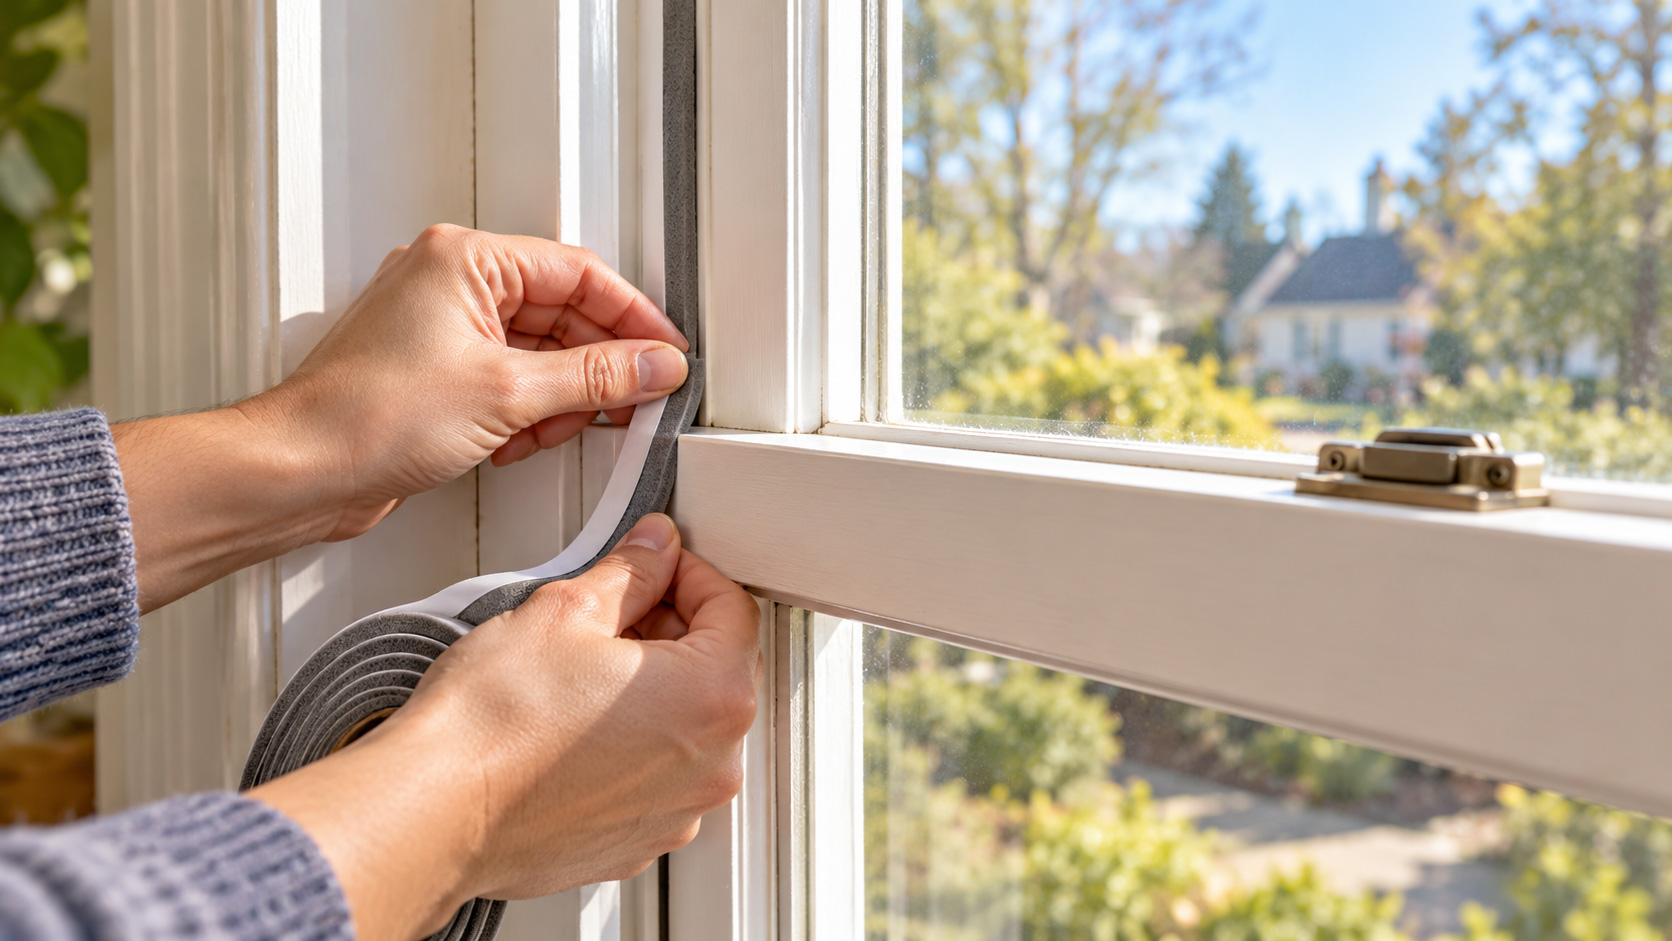
Weatherstripping forms a flexible seal where the sash meets the frame. Over time, some seals flatten, tear, detach, or lose their ability to compress. Replace damaged material with a type intended for your window design.
Window style Areas to inspect Repair considerations Double-hung or single-hung Sash sides, top and bottom edges, and the meeting rail Check that both sashes close evenly and that the lock draws them together Horizontal sliding Vertical meeting edges and the sliding track Use a seal designed for sliding movement so the sash can still glide Casement or awning Perimeter gasket and locking hardware Check that the sash closes evenly against the seal Fixed window Frame-to-wall joint and glass condition The pane does not move, so investigate stationary joints or a failed glass unit instead
To replace weatherstripping:
- Identify the existing seal and confirm the replacement is compatible with the window.
- Remove loose or damaged material without gouging the frame.
- Clean and dry the application surface.
- Measure each section and cut the new material to fit.
- Install it according to the product instructions without stretching it unless the manufacturer directs otherwise.
- Open and close the window several times to test the fit.
The seal should make contact without preventing normal operation. If the lock becomes difficult to engage or the sash no longer closes smoothly, the weatherstripping may be too thick or incorrectly positioned. The Building America Solution Center’s window and door weatherstripping guide (https://basc.pnnl.gov/diy-guides/add-weatherstrip-windows-and-doors) provides further guidance on sealing moving joints.
3. Caulk Small, Stationary Gaps Around the Frame
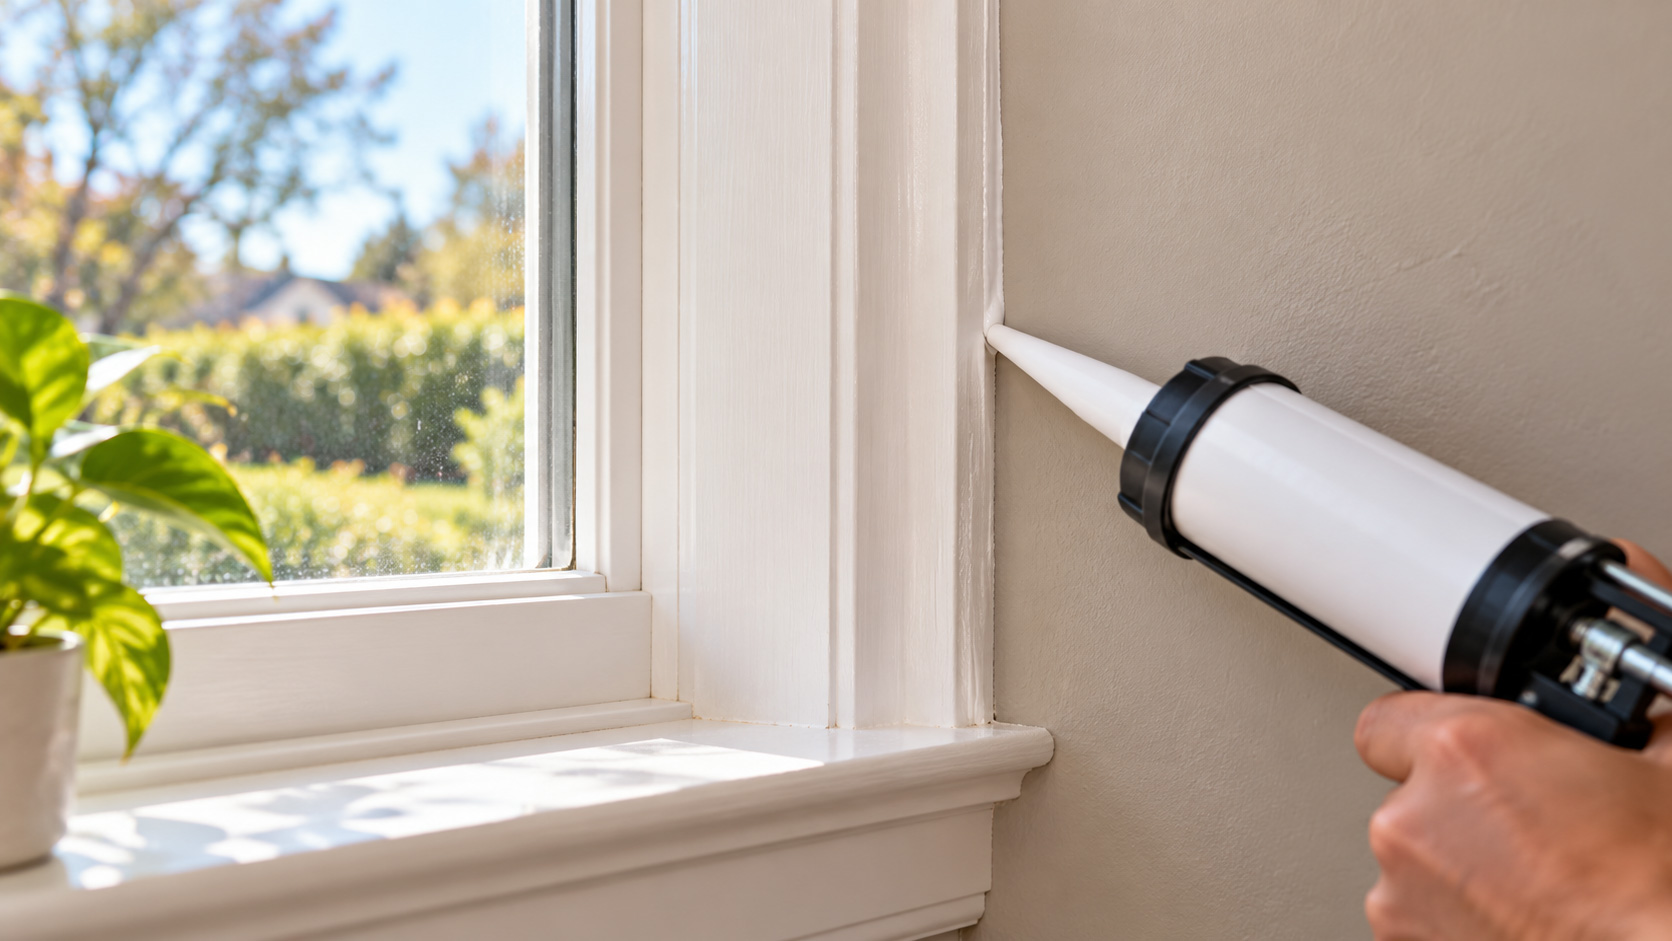
Caulk is suitable for a small, stationary crack where the window trim meets the wall or at another joint specified by the window manufacturer. It is not the right material for a joint that must slide or open.
For an interior trim-to-wall gap:
- Remove loose or cracked old caulk with an appropriate scraper.
- Clean dust and debris from the joint.
- Let the surfaces dry fully.
- Choose a paintable caulk compatible with the adjoining materials.
- Apply a continuous bead according to the product directions.
- Smooth the bead and allow it to cure before painting.
Follow the sealant label for the permitted joint size and curing conditions. If the gap is too wide or deep for caulk alone, do not keep adding layers to bridge it. The joint may need a suitable backing material or further inspection.
For exterior joints, use a compatible exterior-rated sealant only where the window installation details call for it. Do not cover drainage or weep openings at the bottom of a window, and do not seal over soft wood, recurring moisture, or damaged flashing. Those signs may indicate a water-management problem that must be repaired first.
4. Check for a Hidden Gap Behind the Trim
Sometimes the draft seems to come from the perimeter of the window, but the actual opening is hidden behind the interior casing. The gap may be between the installed frame and the rough opening in the wall.
Removing trim is more involved than applying surface caulk. If you are not comfortable removing it without damaging the finish, ask a qualified professional to inspect the opening. If you do remove trim, work carefully and look for missing sealant, damaged framing, or signs of water intrusion.
For an appropriate hidden gap, the repair may involve a sealant, backer rod, or low-expansion foam specifically labeled for windows and doors. Use the product as directed and avoid overfilling the cavity. Expanding foam can put pressure on the frame and affect how the sash opens or closes.
Do not rely on loose fibrous insulation alone to stop airflow; it does not create an air seal by itself. ENERGY STAR’s window and door trim sealing guide (https://www.energystar.gov/saveathome/seal_insulate/sealing-window-door) explains the signs of leakage, material options, and situations in which professional help is appropriate.
Older-home caution: Homes built before 1978 may contain lead-based paint. Cutting, scraping, sanding, or removing painted trim can create hazardous dust. Before disturbing old paint, review the EPA’s Lead Renovation, Repair and Painting Program (https://www.epa.gov/lead/lead-renovation-repair-and-painting-program) and consider a qualified lead-safe professional if the paint status is uncertain.
5. Add Removable Window Insulation Film
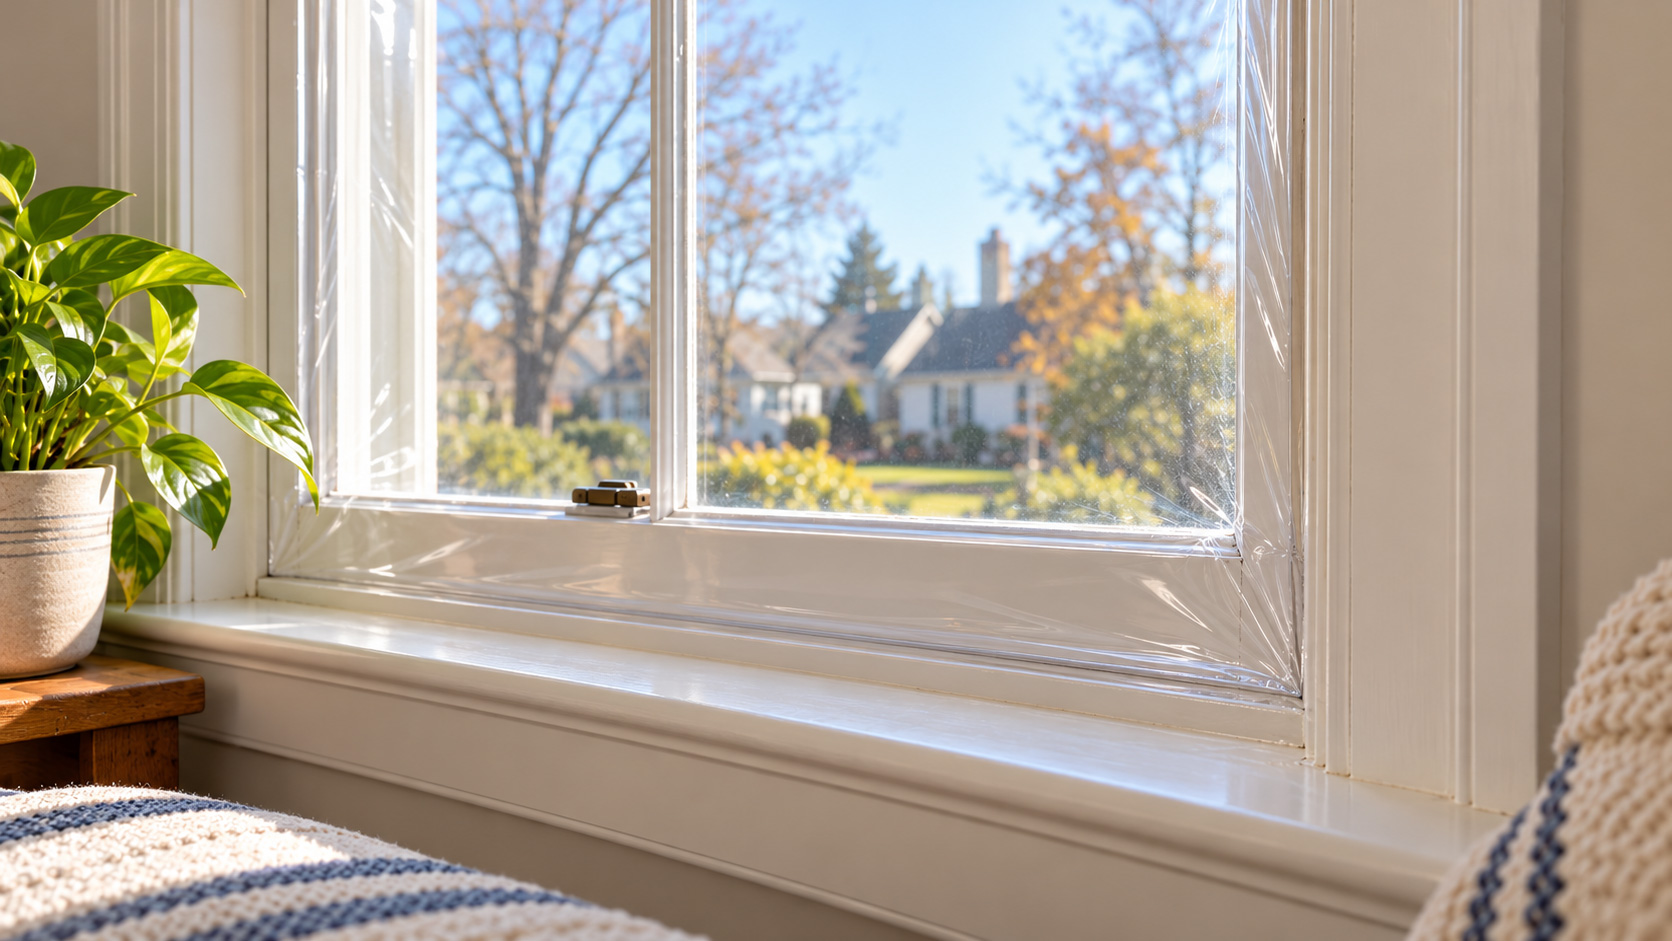
Window insulation film is a temporary option for some drafty windows, especially when you want an additional barrier without replacing the unit. Many kits use clear plastic film and double-sided tape attached to the surrounding trim. When installed according to the instructions, the film creates an extra air space over the window.
General installation steps are:
- Choose a kit that fits the window and read its instructions.
- Clean and dry the trim where the tape will attach.
- Measure and cut the film, allowing enough material to attach securely.
- Apply the tape and film as directed by the kit.
- Use a hair dryer only as instructed to shrink and smooth the film.
- Check the edges for gaps and follow the manufacturer’s directions for seasonal removal.
ENERGY STAR describes shrink-to-fit plastic window coverings as an accessible seasonal option in its window film project guide (https://www.energystar.gov/saveathome/seal_insulate/plastic-over-windows). Film is not a repair for a rotten frame, broken glass, or a failed seal between panes. It may also limit access to blinds or window hardware, so plan the installation around how the window is used.
Never cover a window in a way that prevents it from opening when it is needed for emergency escape or ventilation. Renters should check their lease and ask the property manager before making changes that may affect the window finish.
6. Consider an Interior Storm Panel or Insulating Window Covering
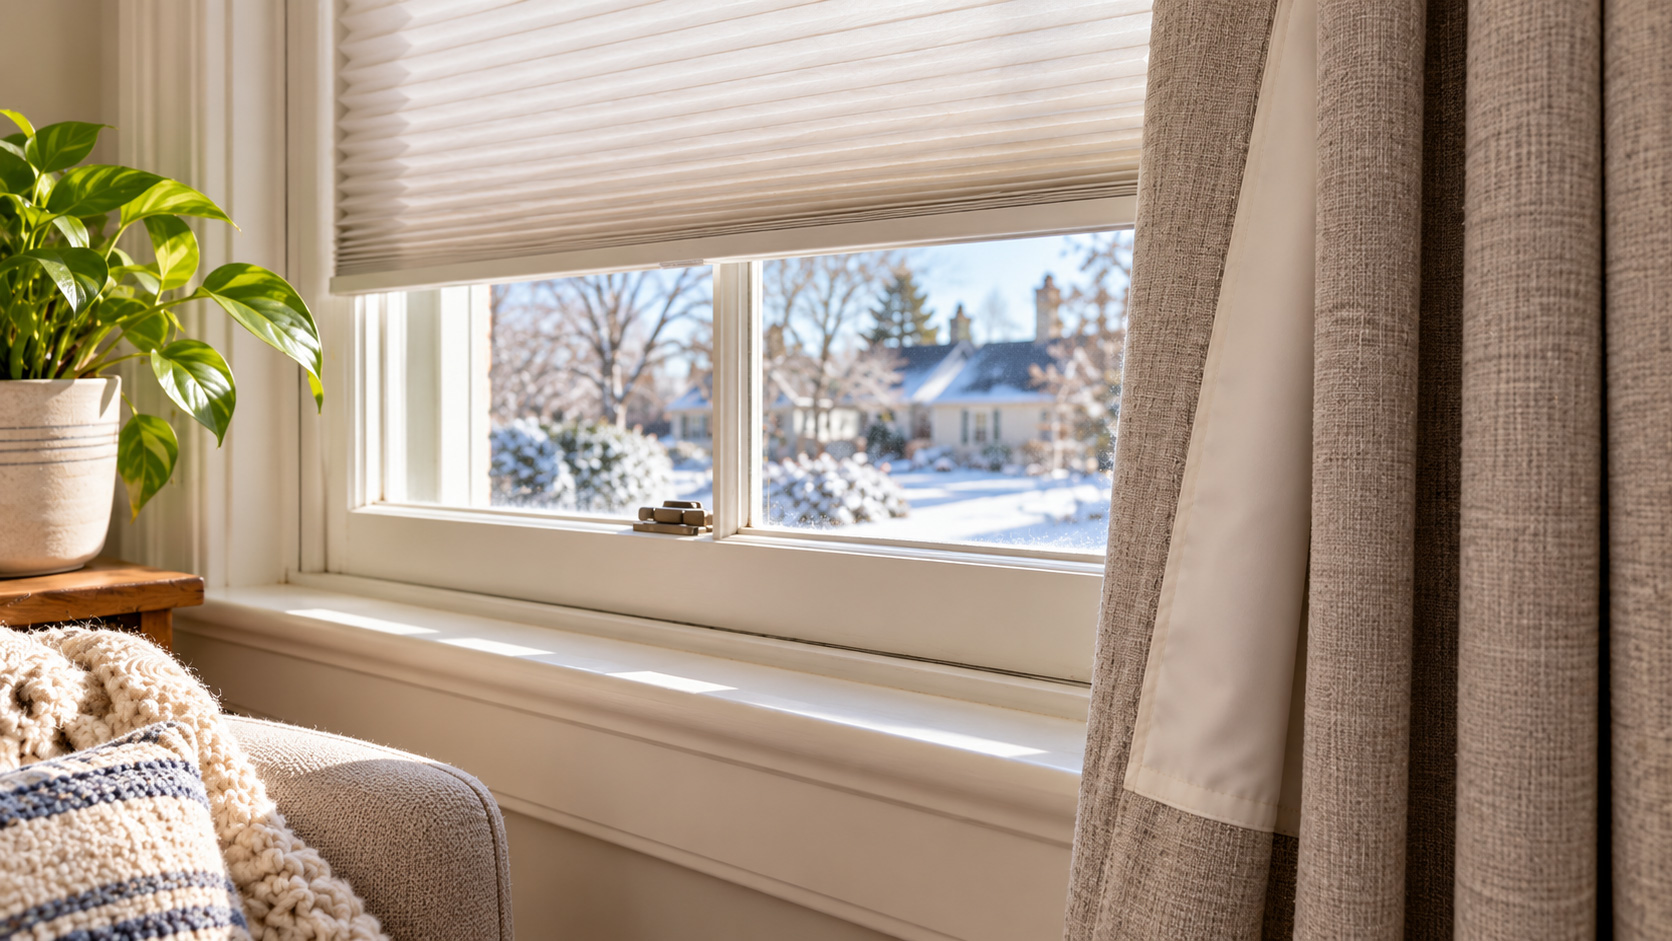
If the frame is in good condition but the glass still feels cold, an additional layer may improve comfort. Depending on the window and budget, options include a removable interior storm panel, cellular shades, or lined curtains that fit close to the window.
These options do not all solve the same problem. A storm panel adds another glazing layer; a shade or curtain reduces exposure to the cold glass and may help limit air movement near the window. Neither is a substitute for repairing a significant air leak, damaged frame, or water intrusion.
Make sure window coverings do not block heaters or vents, and keep the window’s operating hardware accessible. If you use a temporary film kit, check that it is compatible with your window treatments and can be removed without damaging the finish.
Renter-Friendly Options
If you rent, start with reversible measures and check your lease before making permanent changes.
- Clean the track and check that the lock works.
- Use a removable window insulation film kit according to its instructions.
- Consider removable rope caulk or weatherstripping only where the product is suitable for the window and will not interfere with operation.
- Use lined curtains or shades as a secondary layer.
- Photograph visible damage and notify the property manager if the frame is rotten, water is entering, or the window will not lock.
Do not apply permanent exterior caulk, expanding foam, or other modifications without permission when your lease or building rules require approval. If the window is unsafe, does not lock, or is a required emergency exit, report the problem rather than covering it with a temporary seal.
The U.S. Department of Energy’s energy-saving tips for renters (https://www.energy.gov/articles/5-tips-energy-saving-renters) also discusses sealing air leaks and using window coverings to improve comfort.
What Not to Do
Avoid these common mistakes:
- **Do not caulk the moving sash shut.** Use weatherstripping on the parts that open and close.
- **Do not use oversized weatherstripping.** If the window will not latch, the seal may be too thick or incorrectly installed.
- **Do not use ordinary high-expansion foam in the rough opening.** Choose a product specifically designed for windows and doors and follow its instructions.
- **Do not block weep holes or drainage paths.** These features help water escape from the window assembly.
- **Do not seal over rot or recurring leaks.** Find and repair the moisture source first.
- **Do not ignore a window that will not lock or stay open safely.** Hardware and safety problems need attention beyond draft-proofing.
When Is Window Repair or Replacement Necessary?
Draft-proofing may improve comfort, but it cannot correct every window problem. Get professional advice if you notice:
- Rotting or significantly damaged framing
- Water entering during rain or persistent dampness around the sill
- Cracked glass or a sash that is badly warped
- Fog or moisture trapped between panes of insulated glass
- A window that will not lock, open, or stay in position safely
- A large hidden gap or damaged flashing that you cannot inspect confidently
Fogging between panes can indicate a failed insulated-glass seal rather than an ordinary air leak. A window professional can help determine whether the glass unit, hardware, frame, or the entire window needs repair or replacement.
Frequently Asked Questions
What is the cheapest way to fix a drafty window?
Start by cleaning the track and checking the latch, since these steps may not require new materials. If the leak comes from a worn sash seal, compatible weatherstripping may help. Small stationary cracks may need caulk, while temporary film can provide an additional seasonal barrier. The best low-cost fix depends on the source of the draft.
Does window insulation film really help?
A properly installed kit can add an air space over the window and reduce drafts in some situations. It is a temporary measure, not a fix for damaged framing, broken glass, or a failed seal between panes. Follow the kit instructions and make sure the film does not interfere with required window operation.
Can I use caulk around a window?
Yes, on suitable stationary joints such as a small crack between interior trim and the wall. Do not caulk the moving sash, hardware, or drainage openings. For exterior work, use a compatible exterior-rated product and follow the window manufacturer’s installation details.
Should I replace old windows to stop drafts?
Not necessarily. First identify whether the problem is a worn seal, loose hardware, a stationary gap, or cold glass. Some issues can be addressed with cleaning, adjustment, weatherstripping, caulk, or temporary insulation. Replacement or professional repair may be appropriate when the frame is damaged, the glass is broken, moisture persists, or the window cannot operate safely.
Final Thoughts
You can often improve a drafty window without replacing the entire unit, but the repair must match the leak. Clean and adjust the window first, use weatherstripping on moving parts, caulk appropriate stationary joints, and consider window film or an additional glazing layer when the glass itself feels cold. Do not seal over water damage, block drainage openings, or interfere with a window’s operation. If the frame is damaged or the source of the leak is unclear, get a professional assessment before spending money on materials that may not solve the problem.

Royan Abdillah is a home improvement enthusiast and interior design consultant with over 9 years of experience in the industry. Passionate about blending aesthetics with functionality, Royan Abdillah specializes in unique DIY furniture and pet-friendly home solutions. Through this blog, Royan Abdillah aims to help homeowners create beautiful, personalized spaces on a budget.