Installing a light fixture with a ceiling fan is an easy DIY job that you can do. But like any other job, the way to do this job can be tricky. Stuff can come during replacing a process that you didn’t anticipate. Fortunately, you can easily install ceiling fan with light fixture if you know it steps by step properly. Here are some necessary steps you should know!
See also: Clean Ceiling Fan Hack: 6 Easy Steps Will Change the Way You Clean
Step by Step Installing DIY Ceiling Fan with Light Fixture
-
Remove the Existing Light Fixture
Before installing the ceiling fan with the light you want, you need to replace an existing fixture. First, turn off the electron at the home’s main electrical panel to the line that powers the light. Cover the switch with tape to make sure it doesn’t get turned to get back when you are working it. Don’t forget to use a circuit tester to ensure the power is turned off before touching the electrical wiring.
-
Install an Additional Brace
You can make and install your support brace using the length of 2 x 4 lumber. Then, nailed to the ceiling joists on both sides of the box. Plus, it would help you choose a brace position above the ceiling box to install ceiling fan with light fixture. From below, you can use a wood screw to attach the ceiling box steadily to give additional support.
-
Install Mounting Bracket
Most ceiling fans come with a mounting bracket, but you can buy a mounting bracket separately if yours does not. Then, attach the frame to the ceiling box following the instructions. If you use an extension rod to suspend the fan, give the tape to the fan’s ends. It is essential to secure the ball mount on the ceiling.
-
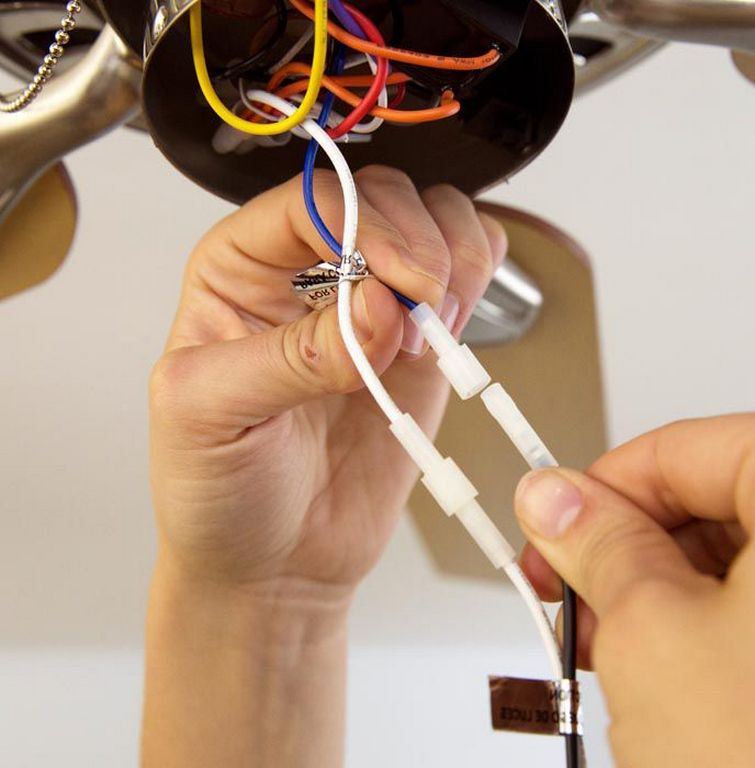
Connect with Fan Motor Wiring and Attach the Fan Blades
The next step, attach the fan motor wires to the fan. Typically, you will need connecting hot wires and neutral wires. After that, install a fan canopy covering the ceiling box and attach a blade mounting bracket to each fan blade. Ensure to mount the screw tights before install ceiling fan with light fixture, to prevent loose edges and wobble when operating.
-
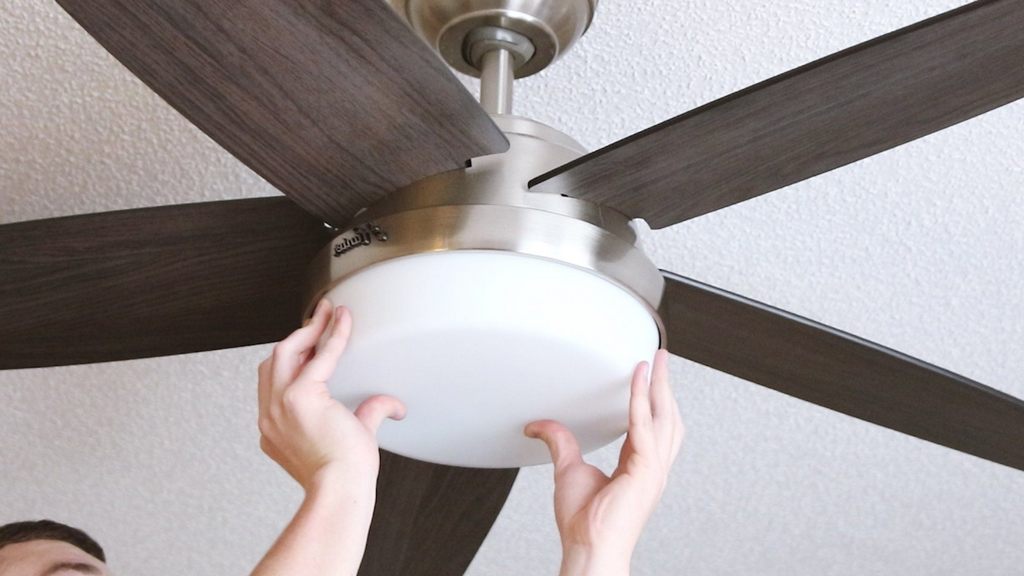
Install the Light Fixture to The Ceiling Fan
If your fan includes a light fixture, bring together the fixture and change housing. In the next step, you need to attach the fixture to the fan motor get-together. Connect the wiring according to the manufacturer’s instructions. Install the glass ceiling or ornamental light shades and bulbs to your ceiling fan.
-
Install the Wall Control Switch
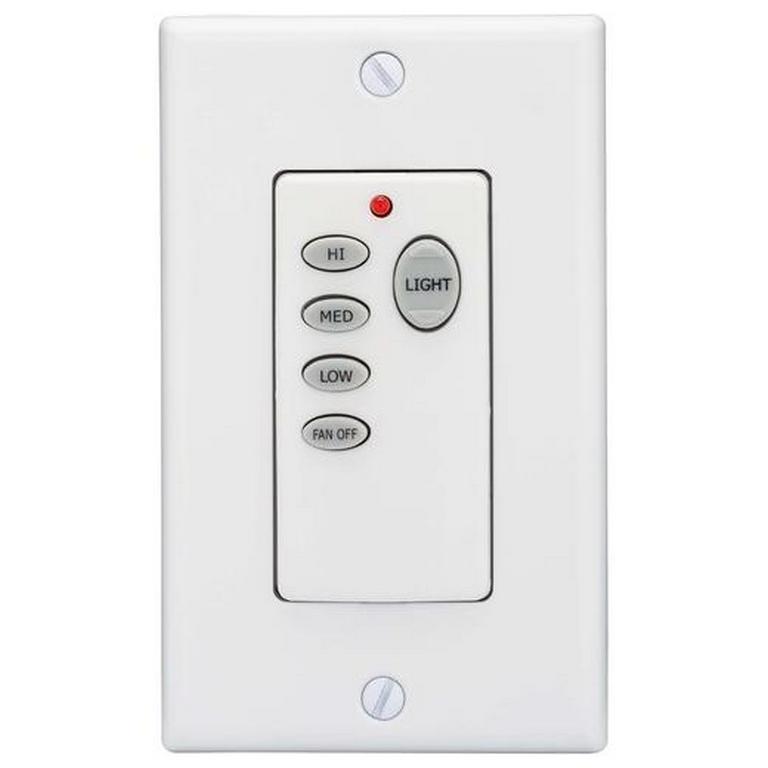
Most fans are ceiling fans controlled by a rheostat-type wall switch. It allows you to regulate and set fan speed operation. To reverse the direction of the fan, to circulate warm air near the ceiling during winter months. Also, operate a retrogressive switch located on the fan housing to install ceiling fan with light fixture.
Some fans today include smart electronics that develop various functions. The device can be controlled from a single switch, etc for easy setup. However, before installing a new wall switch for your unit, recheck the existing switch wiring and make sure the power is off. Install the fan controller switch based on the manufacturer’s instructions.
See also: Tips and Tricks to Clean Ceiling Fan Blades You Should Know
Royan Abdillah is a home improvement enthusiast and interior design consultant with over 9 years of experience in the industry. Passionate about blending aesthetics with functionality, Royan Abdillah specializes in unique DIY furniture and pet-friendly home solutions. Through this blog, Royan Abdillah aims to help homeowners create beautiful, personalized spaces on a budget.