Is it time for you to decorate the house with a pretty curtain? To give self-accomplishment, try to install the rods yourself. Installing drapery rods by yourself is an easy thing to do. You will only need a measuring tape, pencil, a drill, and screws. Use gloves to protect your hands. Read the following easy steps to prepare your curtain at home.
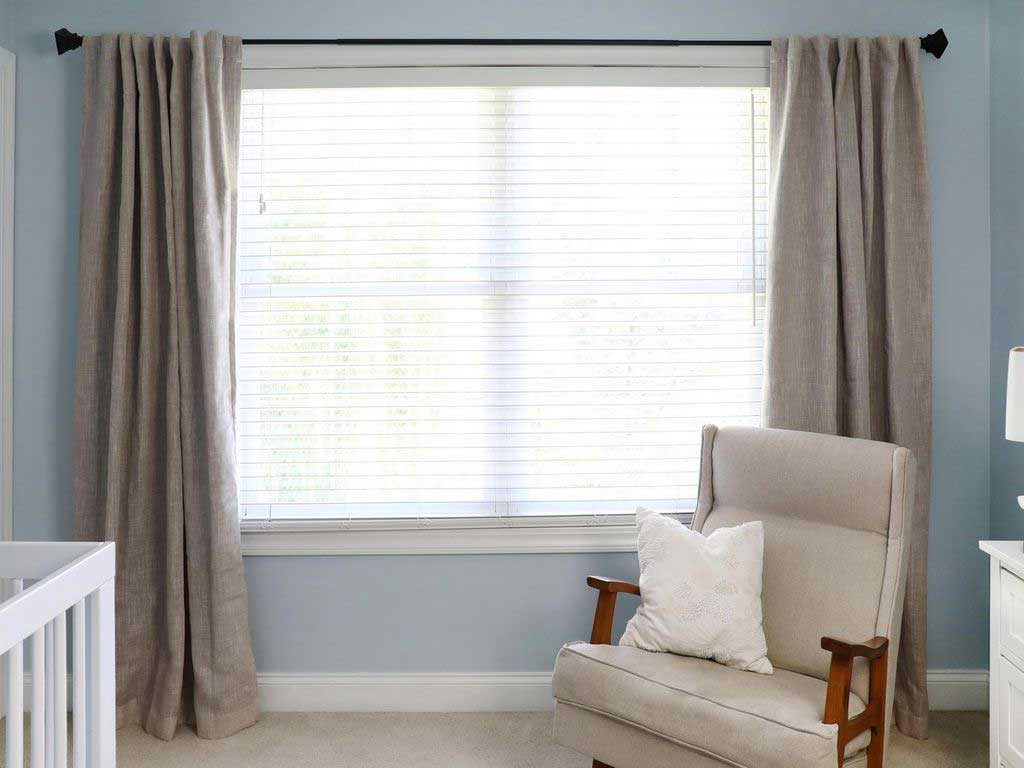
Do It Yourself – Easy Steps to Install Drapery Rods
1. Measure the Required Curtain Height
Measure the required curtain height using a measuring tape. Make sure where the suitable place to place the curtain is by paying attention to where the top of the curtain will be placed and to which the curtain will hang. Consider the material of the curtain to be used and its design. In addition to measuring tape, laser tape can also help provide a more accurate size.
2. Mark the Measured Part
Mark the measured part before installing drapery rods. This is needed to help the next process, namely drilling. Make sure the mark given is not too close to the edge because this can make damage to the window wood. You can use a pencil, ballpoint pen or marker. Make sure the given signs are balanced. Ask others for help to ensure a balance of sizes or take a few steps back to make sure for yourself.
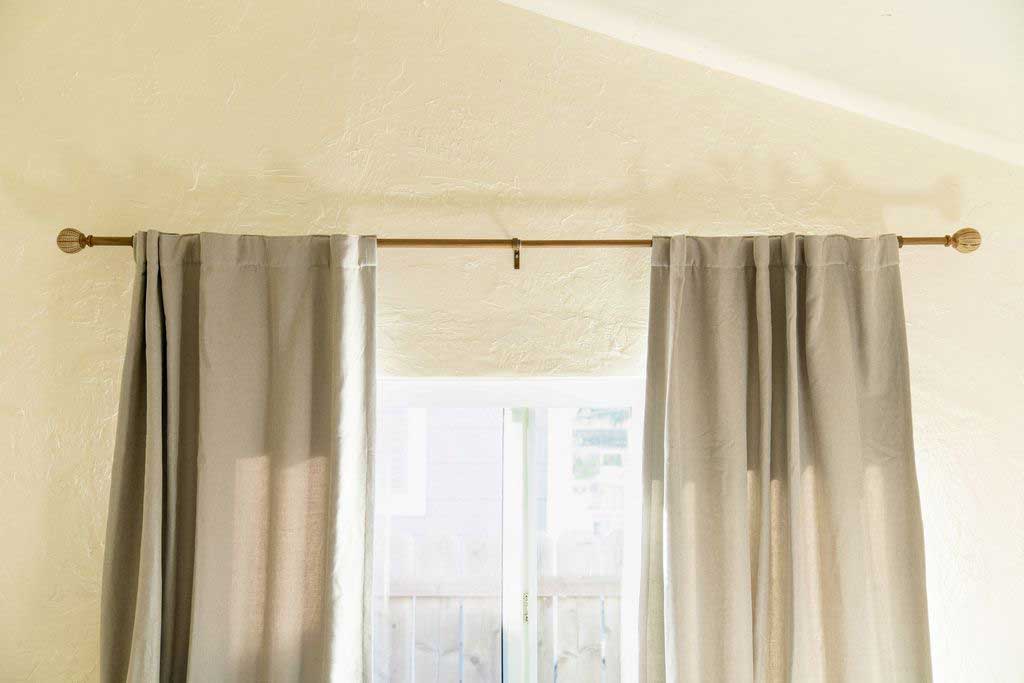
3. Add A Mid Brace
Some rods require a mid-brace to prevent the rods from sagging in the middle. For this reason, pay attention to the length of the rod that will be used when relying on the brackets. Although some curtain rods are easily adjustable there is still a tendency for the rod to sag in the middle when the rods used are long enough. Use a rod whose length is not longer than 50% window size.
4. Drill the Holes
Drilling can keep the screws and walls from cracking when screws are installed. When installing drapery rods brackets on the wall, make sure the pilot holes are large enough, according to the size of the screw anchors. Even so, screw anchors are needed if the rod brackets cannot be attached to the wall studs. It is recommended to use a tension rod when it is difficult to screw directly into the wall.
5. Screw the Brackets to The Wall
You will need plastic screw anchors if you plan to install them on the wall between studs. Plastic screw anchors will accumulate weight on the rod and the curtain by expanding inside the drywall panel. This will prevent the screw from slipping off easily. You can also use the manufacturer that is already available or uses mounting screws.
6. Check the Level and Voila! Hang the Curtain
The last step of installing drapery rods is attaching the rod to the brackets. Use a carpenter’s level to ensure the rod is balanced when installed. Even so, if you have done the right measuring, the rod will be installed balanced. After making sure the rod is balanced, you can immediately put the curtains on. Voila, your curtain is ready to protect you from excess sunlight!
Isn’t fun when you do things by yourself without professional help at home? Installing rods is a simple matter. If you have a little doubt, ask one person for help to assist you to install the rods. Especially if you are not experienced in using drills. Avoid doing it around children. Don’t forget to always be careful not to let unwanted things happen!
Royan Abdillah is a home improvement enthusiast and interior design consultant with over 9 years of experience in the industry. Passionate about blending aesthetics with functionality, Royan Abdillah specializes in unique DIY furniture and pet-friendly home solutions. Through this blog, Royan Abdillah aims to help homeowners create beautiful, personalized spaces on a budget.