Installing a ceiling is not as easy as you think; it takes expertise to look the best. This includes getting the job done quickly and correctly. Reference to installing and painting the ceiling is also a big task. However, it is possible that you can do DIY projects. To make it easier for you, here are the ultimate tips for professional ceiling painters.
See also: Work In Any Room, Here Are 5 Best Alternative Ceiling Materials
Ideal Tips and Tricks for DIY Ceiling Painters
1. Laying the Floor Cloth And Tape
Protect the carpet by tape to the surface of the baseboard with a wallpaper smoothing tool. After that, lay the upholstery on the floor and tape over the sockets and switches. Also, cover all hardware to keep the paint off you need. Start by cleaning the room so that the painting can stick perfectly to the ceiling. It is the primary step before starting DIY.
2. Setting the Wall Barrier
Use a stain sealer that dries quickly, so you don’t have to wait too long. Remove everything from the wall and remove the lampshade to cover the base with a plastic bag. Then cover the water stains with a spray stain killer to make the process run smoothly. You can try to slightly smooth with professional ceiling painters and hard surfaces for a perfect finish.
3. Use Primer
Coat the surface with a solvent-based primer for quick-drying, i.e., oil or alcohol. Avoid using water-based latex so as not to affect the overall result. Don’t worry too much when you spill some primers on the sidewall. But, make sure to smooth the uneven surface for better results. With this in mind, you will easily do the next step for a DIY project.
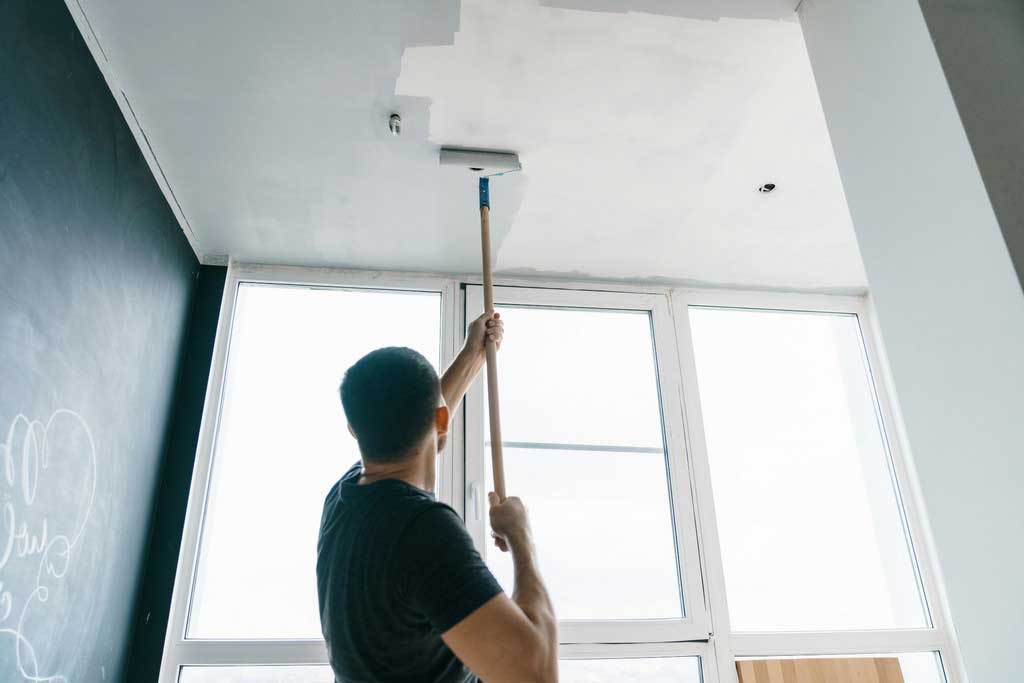
4. Roll the Ceiling
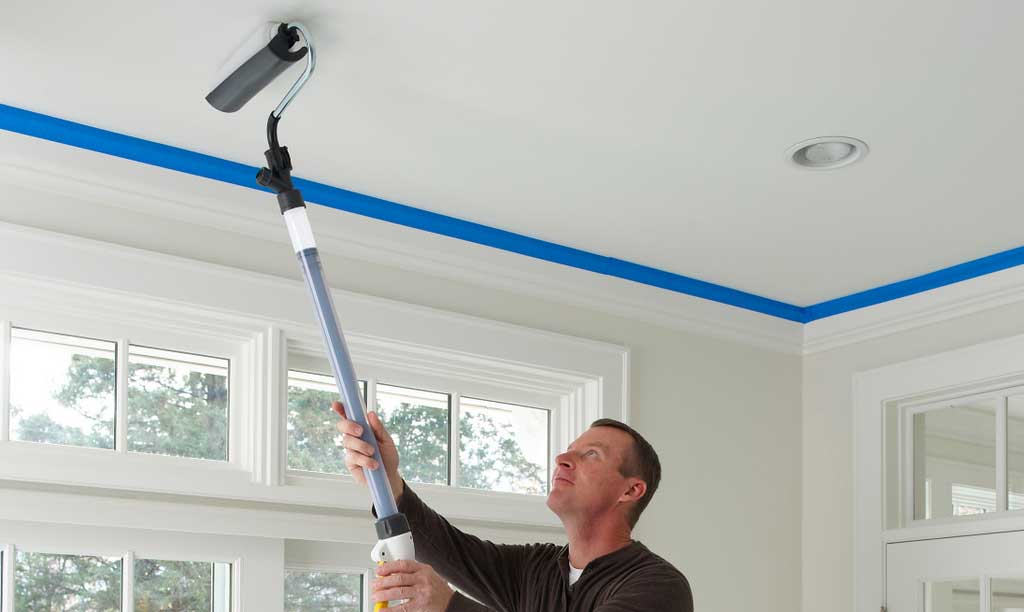
This step is essential to get the first layer in one direction only. Applying a coat of paint to lock in the coarse particles is to maintain a second, thicker overcoat. You can paint double-sided portions of any significant texture particle at professional ceiling painters. You can try this by recoat in the opposite direction.
5. Closing the Gap
You can continue your DIY project by caulking all the joints using silicone putty or paintable white latex. Do this by gently cleaning away excess putty beads using a damp synthetic sponge. As a result, you can get the perfect painting technique. Also, you can display a charming design on the ceiling.
6. Create an Even Edge
You can remove thin lines of texture by sliding slowly. It will ensure a sharp paint line when applying wall paint along with the ceiling. Without that edge, you can’t cut easily and quickly along the top you create. In other words, you should try to make a DIY professional ceiling painters project suitably and appropriately.
All in all, you have the opportunity to make a house with the best appearance, thanks to a DIY project. Do this activity according to the needs and the desired design. If you want maximum results, choose DIY like a pro. By doing a series of long and detailed processes, you can get the best view of your home ceiling. As a result, you can display stunning home visuals.
See also: Ceiling Paint Vs Wall Paint? Get To Know the Difference
Royan Abdillah is a home improvement enthusiast and interior design consultant with over 9 years of experience in the industry. Passionate about blending aesthetics with functionality, Royan Abdillah specializes in unique DIY furniture and pet-friendly home solutions. Through this blog, Royan Abdillah aims to help homeowners create beautiful, personalized spaces on a budget.