
A squeaky door can become an annoying part of your daily routine, especially when it makes noise every time someone enters or leaves a room. Fortunately, you can often fix the problem without removing the entire door or taking apart its hardware.
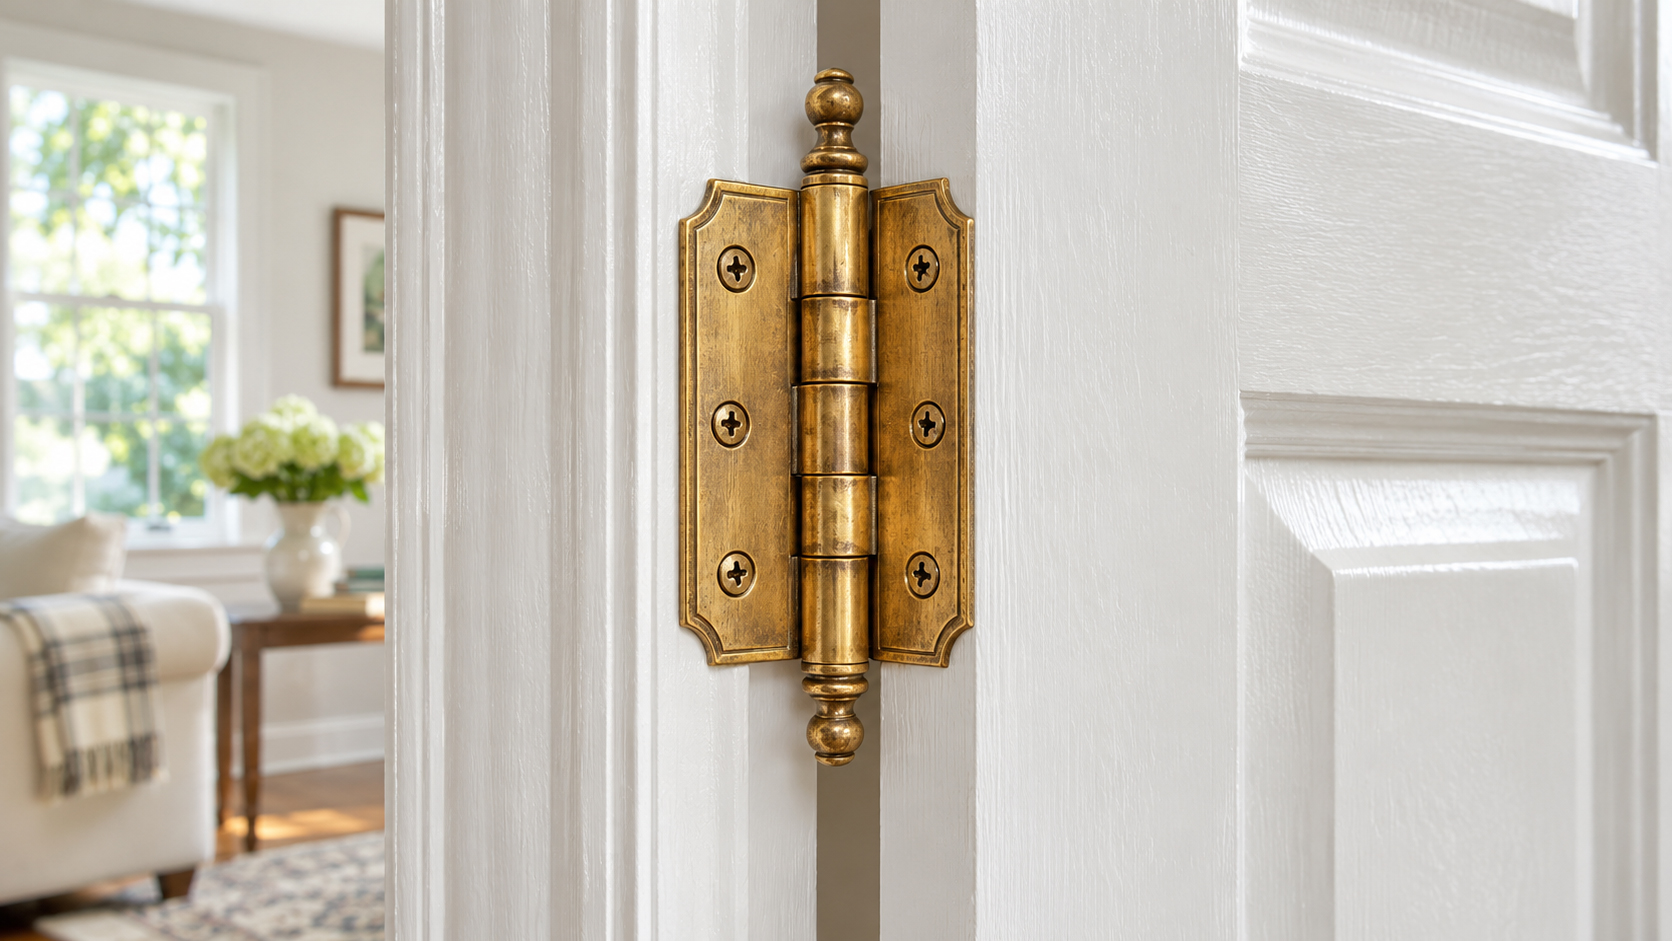
In most cases, the noise comes from friction between metal hinge components, insufficient lubrication, dirt buildup, or minor alignment problems. The simplest solution is to identify the noisy hinge, clean its exposed surfaces, and apply a suitable lubricant directly to the moving joints.
If the noise continues, you may need to inspect the hinge pin, screws, or door alignment. This guide explains how to fix a squeaky door hinge without removing the door, how to choose the right lubricant, and what to do when a basic repair does not work.
Why Does a Door Hinge Squeak?
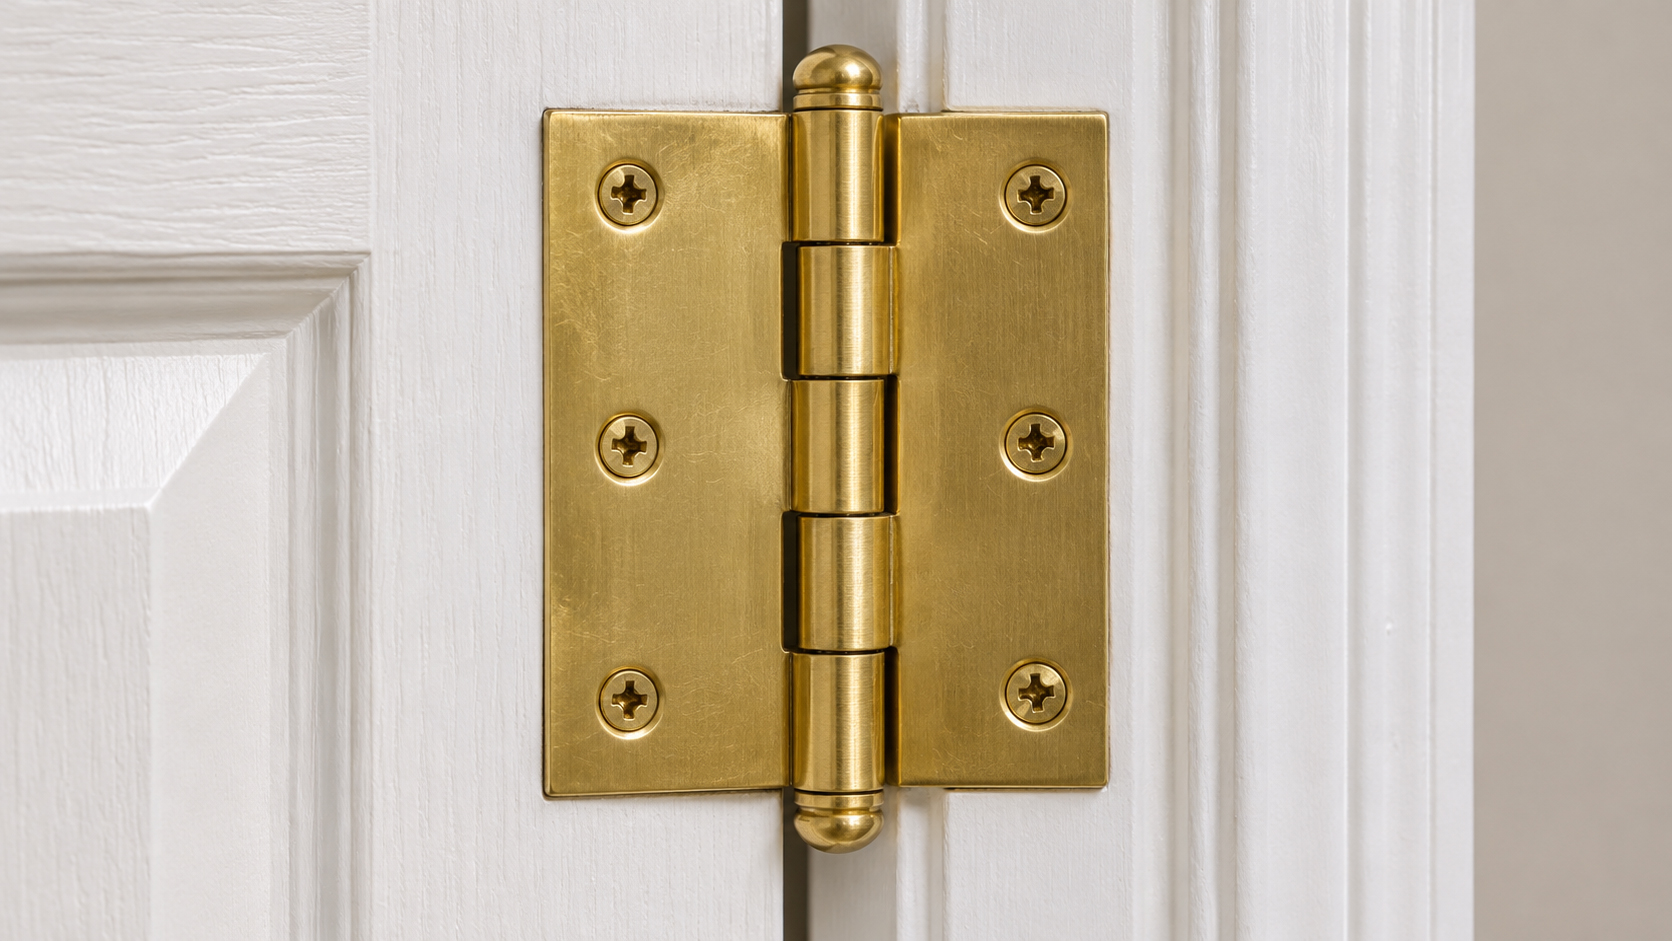
Before applying lubricant, it helps to understand what causes the noise. A squeaky hinge does not always mean the metal parts are simply dry. Several issues can create similar sounds.
1. Friction Between Metal Components
A traditional door hinge contains a pin that connects interlocking cylindrical sections called knuckles. As the door moves, these components rotate around the pin.
When the contact surfaces do not have sufficient lubrication, friction can produce a high-pitched squeaking sound. This is one of the most common reasons residential door hinges become noisy.
2. Dirt, Dust, and Old Lubricant
Dust and debris can accumulate around the hinge pin and knuckles over time. Old lubricant may also become contaminated, making it less effective.
These particles can interfere with smooth hinge movement and contribute to additional wear. Cleaning visible buildup before applying fresh lubricant helps prevent simply covering the dirt with another product.
3. Rust or Corrosion
Door hinges exposed to moisture, humidity, or outdoor conditions may develop corrosion.
Surface rust can increase friction between moving components. More serious corrosion can damage the hinge pin or knuckles, making lubrication alone insufficient.
4. Loose Screws or Misaligned Hinges
A loose hinge can allow unwanted movement between the door, frame, and hinge plates. Misalignment may also create uneven pressure as the door swings.
Sometimes, the noise is not coming from the hinge at all. The door edge may be rubbing against the frame, or the latch may be contacting the strike plate incorrectly.
What You Need Before Fixing a Squeaky Door Hinge
For a basic repair, you generally do not need specialized equipment. Prepare the following:
- Clean microfiber cloth: Removes dust, dirt, and excess lubricant.
- Small cleaning brush: Helps reach visible dirt around the hinge knuckles.
- Suitable hinge lubricant: Choose a product compatible with your hinge.
- Precision applicator or spray straw: Helps control lubricant placement.
- Screwdriver: Useful for checking loose hinge screws.
- Paper towels or an old cloth: Protects the floor and surrounding surfaces.
For aerosol lubricants, follow the product label, provide suitable ventilation, and protect painted surfaces and flooring from overspray.
Which Lubricant Is Best for Squeaky Door Hinges?
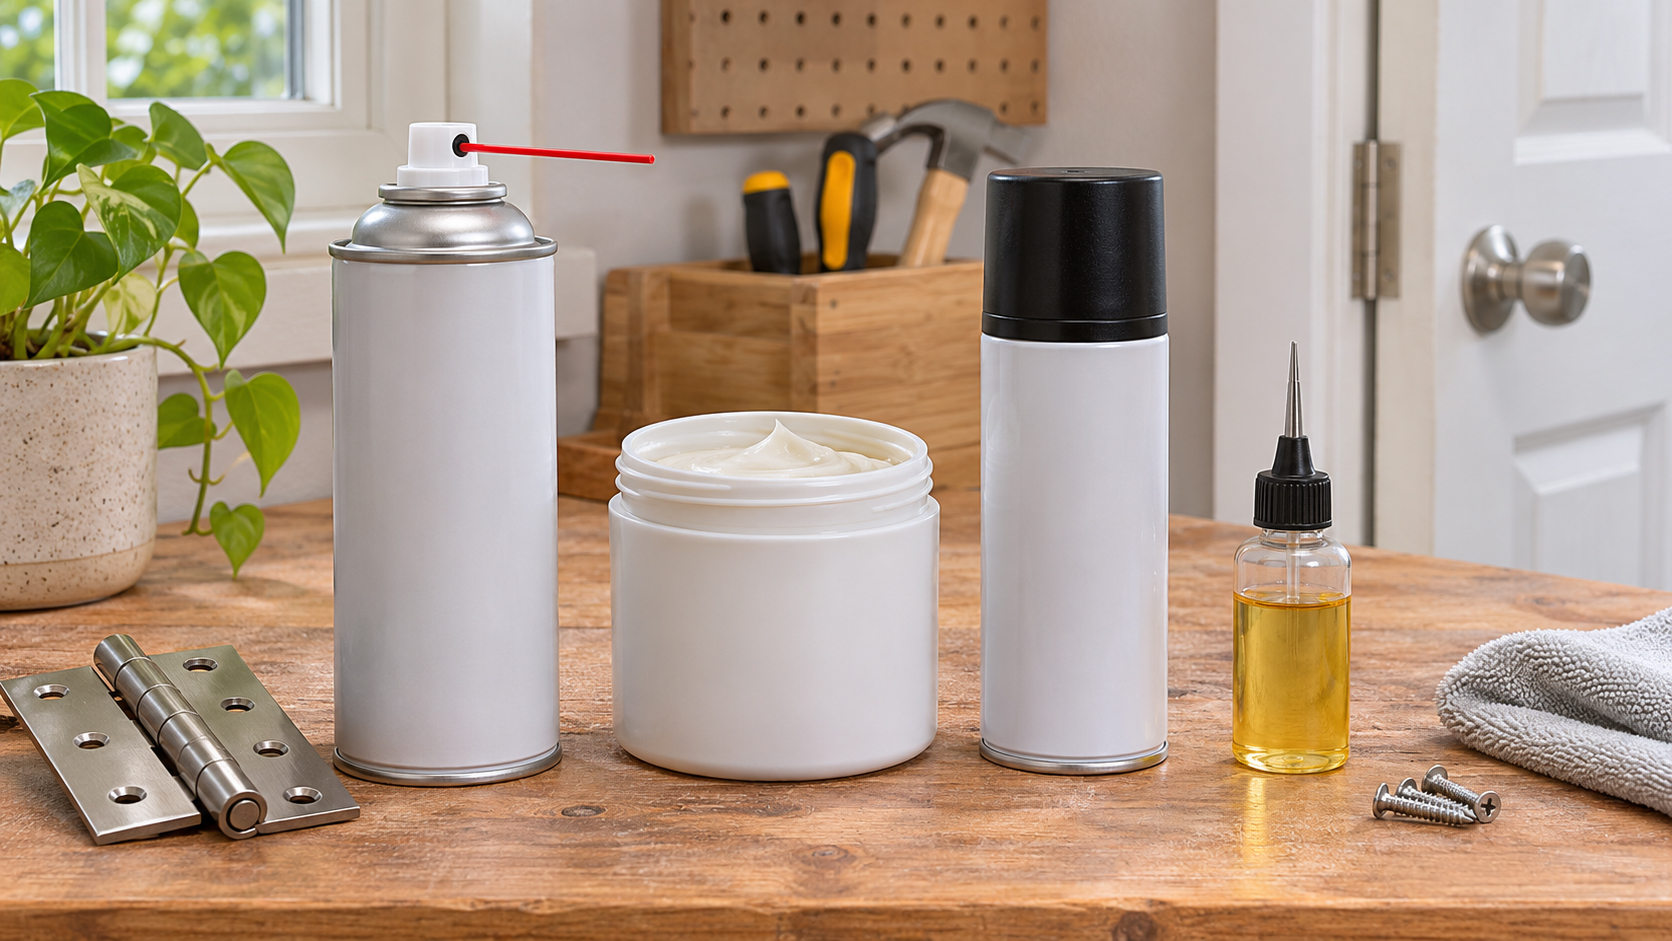
Choosing the right lubricant matters because different products have different formulations and maintenance characteristics.
There is no single lubricant that is automatically suitable for every door hinge. Check the hardware manufacturer’s recommendations before applying anything.
Here are four common options worth understanding.
Lubricant Main characteristics Considerations Silicone spray Leaves a lubricating film with little sticky residue Control overspray and check material compatibility White lithium grease Provides thicker, longer-lasting metal-to-metal lubrication Can be messier to apply and should follow hinge specifications PTFE dry lubricant Dries to a film designed to resist dirt and dust accumulation Confirm that the product is suitable for the hinge Light machine oil Allows precise application to small moving parts Can run or drip; some hinge manufacturers prefer grease
Silicone Spray
Silicone spray is useful when you want a controlled lubricant that leaves a relatively clean surface.
For example, WD-40 Specialist Silicone is formulated for hinges and other moving components. Its manufacturer describes the product as leaving a clear, non-sticky lubricating film and recommends testing uncertain surfaces first.
White Lithium Grease
White lithium grease is a common option for metal-to-metal applications.
It forms a thicker protective coating and is suitable for certain residential and outdoor hinges.
Specialist White Lithium Grease specifically lists hinges among its intended applications.
Hager also recommends lithium grease for its standard architectural and residential hinges, although its recommended procedure involves removing the hinge pin before applying grease. This is a manufacturer-specific maintenance recommendation, not a universal instruction for every hinge.
PTFE Dry Lubricant
PTFE dry lubricant is worth considering when reducing residue and dust accumulation is important.
WD-40 Specialist Dry Lube, for example, is designed to dry quickly and leave a lubricating film that resists dirt and dust. The manufacturer lists hinges among its suitable applications.
Light Machine Oil
Light machine oil can be convenient for small hinge joints because it can be applied in controlled drops.
3-IN-ONE Multi-Purpose Oil, for example, is specifically marketed for moving parts and hinge pivot points. Its drip spout also helps reduce unwanted overspray.
However, lubricant recommendations can differ. Hager advises against light oils for its standard hinges because they may wear away more quickly than the recommended lithium grease. Therefore, prioritize the hinge manufacturer’s instructions rather than assuming every oil-based product provides the same maintenance performance.
How to Fix a Squeaky Door Hinge Without Removing the Door
For most accessible residential hinges, start with the simplest approach: clean and lubricate the hinge while the door remains fully attached.
You do not need to remove the hinge pin for this initial method.
Step 1: Identify Which Hinge Is Making the Noise
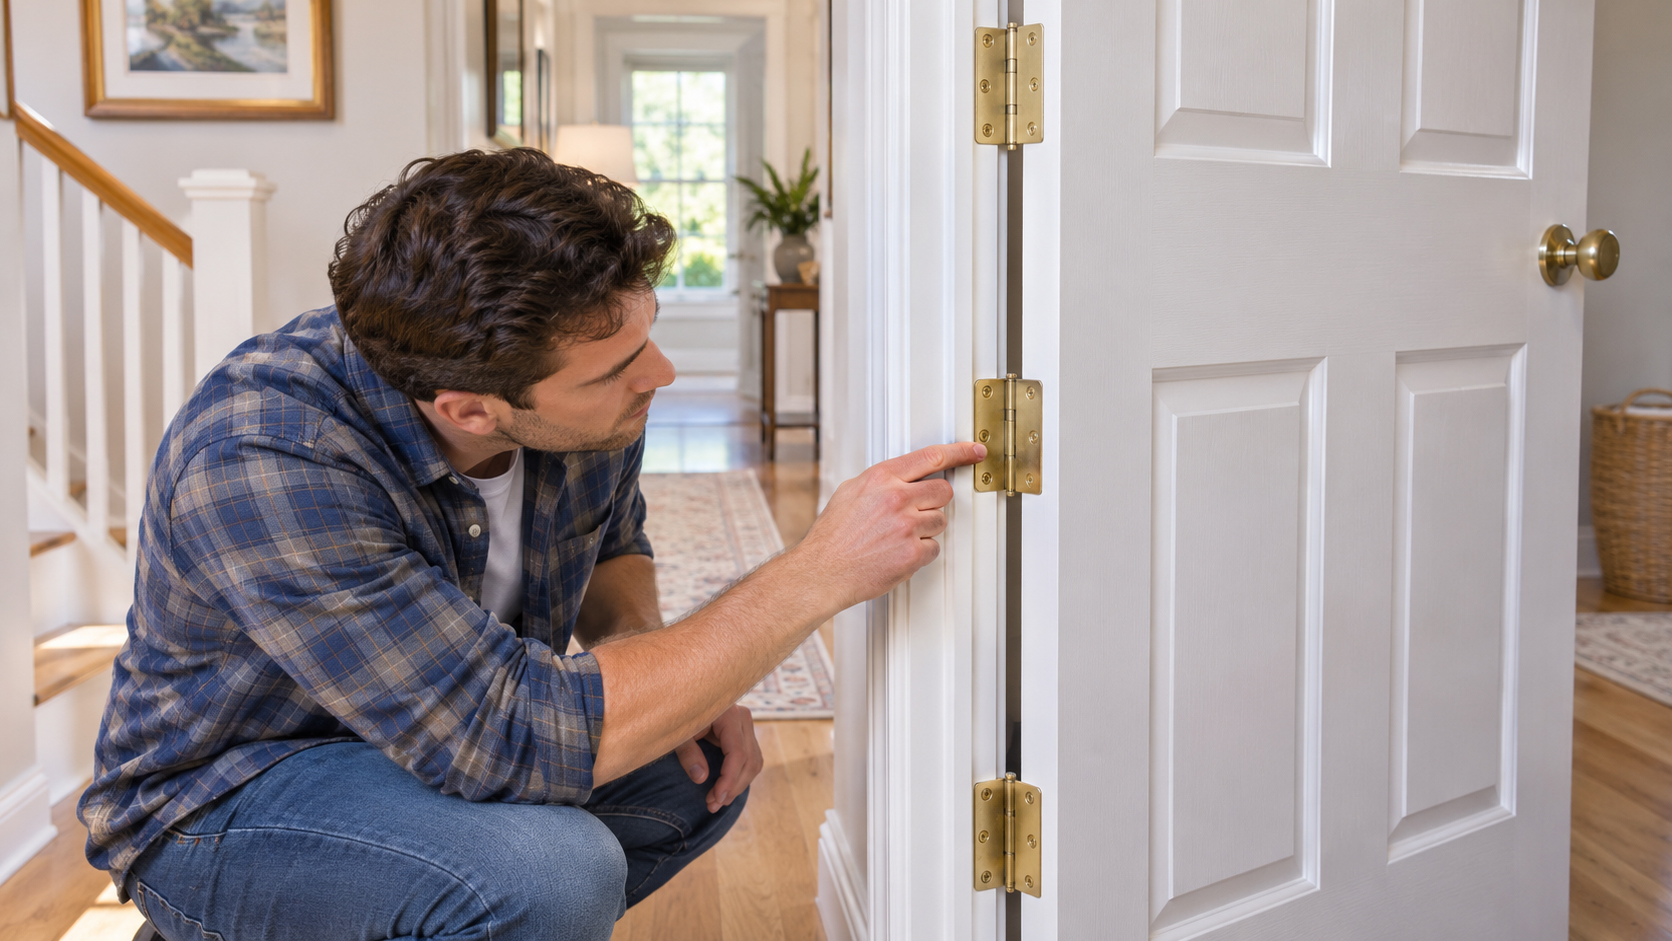
Open and close the door slowly while listening near each hinge.
Most residential doors have multiple hinges, so check them individually instead of assuming the top or bottom hinge is responsible.
Pay attention to where the sound occurs:
- A squeak near the hinge barrel may indicate friction around the pin.
- A grinding or scraping sound may indicate dirt, corrosion, or worn components.
- A rubbing sound near the door edge may indicate misalignment.
- A clicking or squeaking sound near the latch may come from the locking mechanism.
Identifying the actual source prevents unnecessary lubrication of hardware that is not causing the problem.
Step 2: Clean the Exposed Hinge Surfaces
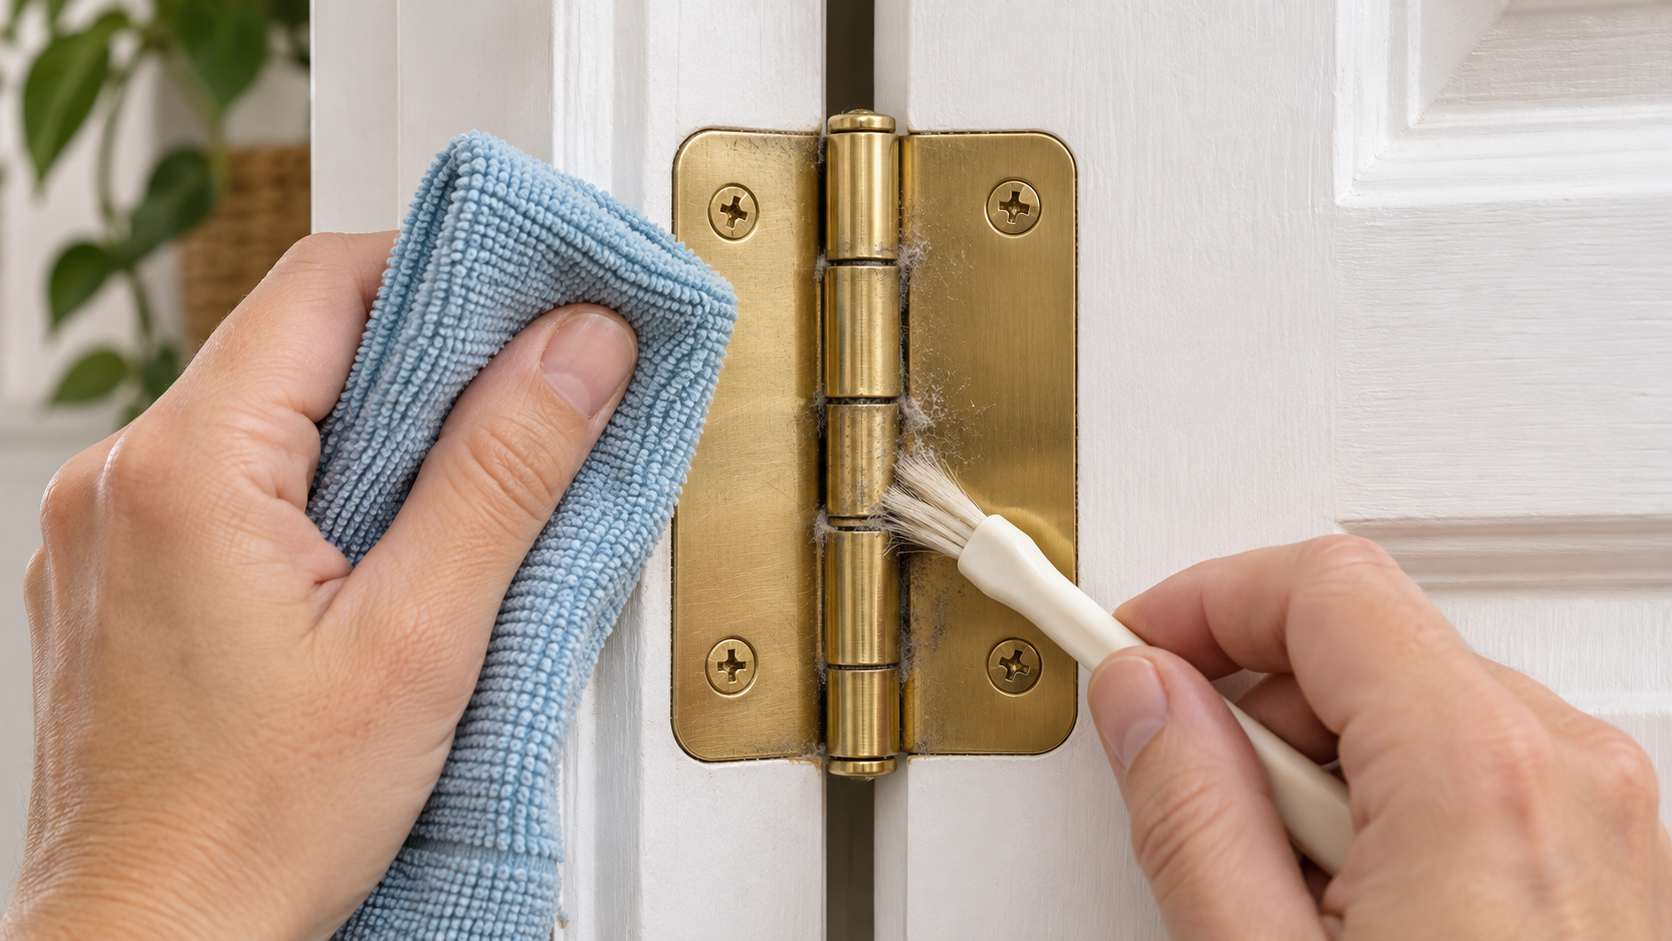
Open the door enough to access the hinges comfortably.
Use a clean cloth to wipe away visible dust, dirt, and loose residue. A small soft brush can help remove buildup around the knuckles.
Avoid aggressive scraping that could damage the hinge finish. If the hinge has significant corrosion, inspect its condition before proceeding.
Step 3: Apply a Small Amount of Suitable Lubricant
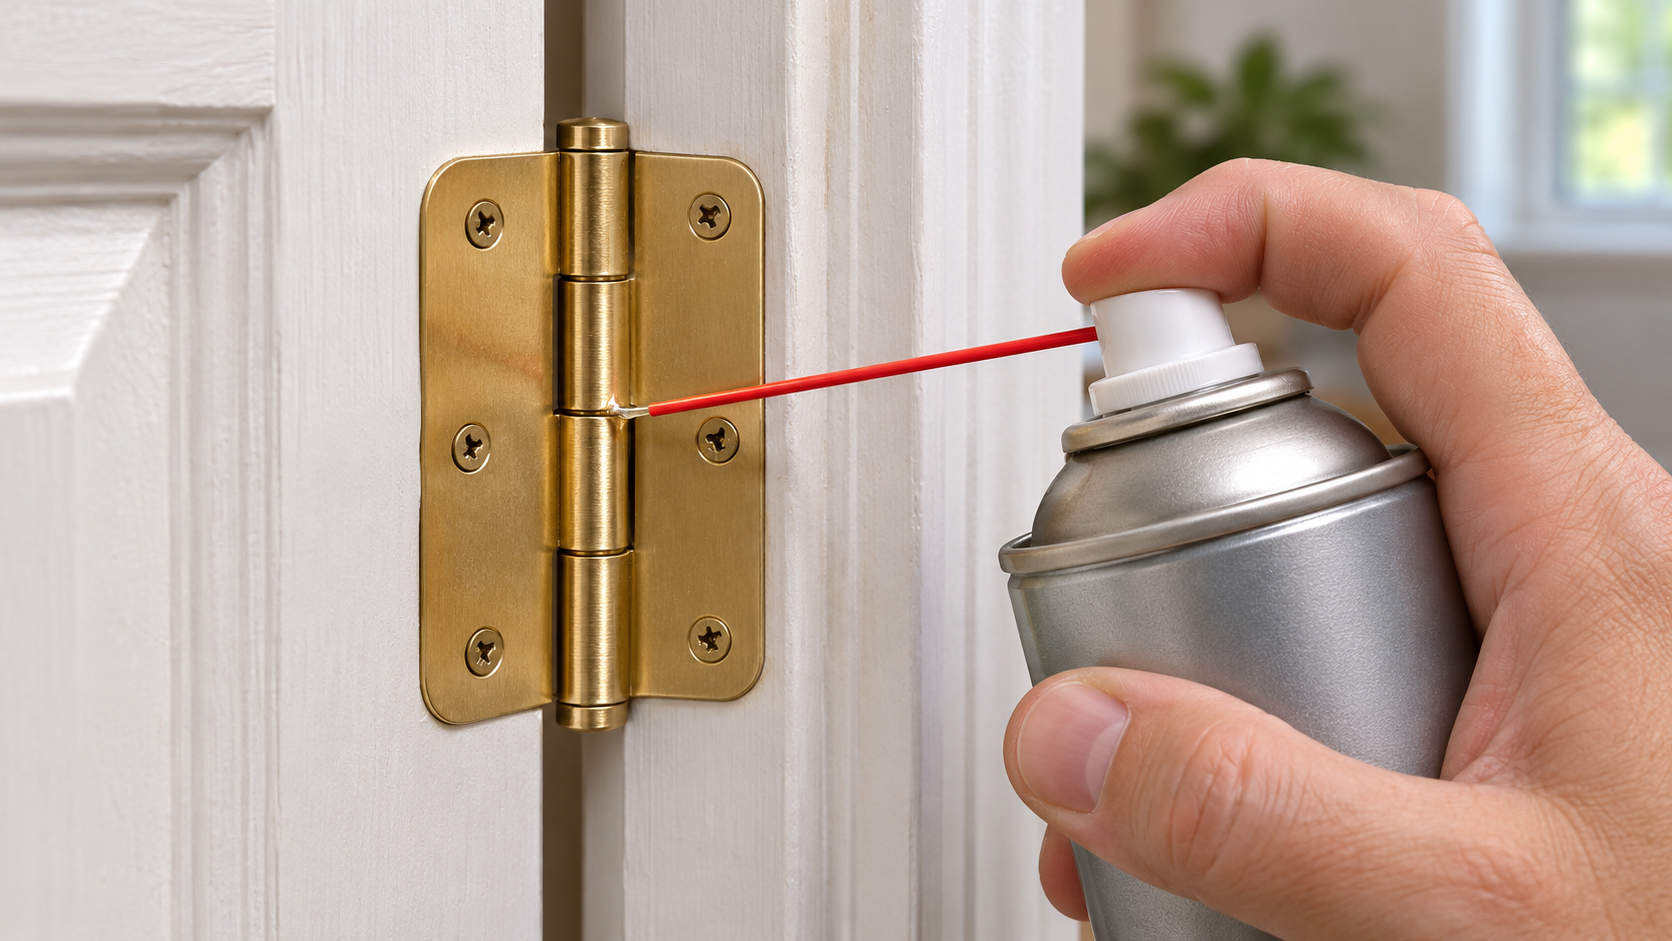
Apply a small amount of manufacturer-approved lubricant to the moving joint where the hinge pin meets the knuckles.
Depending on the applicator:
- Use one or two controlled drops of oil.
- Use a short, targeted spray rather than spraying the entire hinge.
- If the hinge has a designated lubrication port, follow the manufacturer’s instructions for that port.
Do not flood the hinge with lubricant. Excess product can drip onto the floor, stain nearby surfaces, or collect dust.
Step 4: Move the Door to Distribute the Lubricant
Slowly open and close the door several times.
This movement helps distribute the lubricant around the accessible moving surfaces.
Listen carefully as the door moves. If the squeaking becomes quieter or disappears, the initial lubrication may have addressed the problem.
Step 5: Wipe Away Excess Lubricant and Test Again
Use a clean cloth to remove lubricant that has accumulated around the hinge.
Open and close the door again to check whether it moves smoothly without producing the original squeaking sound.
If the noise remains, do not keep adding lubricant without investigating the cause. The hinge may require deeper cleaning, or the actual problem may involve loose screws, worn components, or misalignment.
This cleaning-and-lubrication approach follows the general maintenance principles described by This Old House, which recommends cleaning hinge surfaces, applying lubricant to the pin and contact areas, moving the door, and wiping away excess product.
What If the Door Still Squeaks After Lubrication?
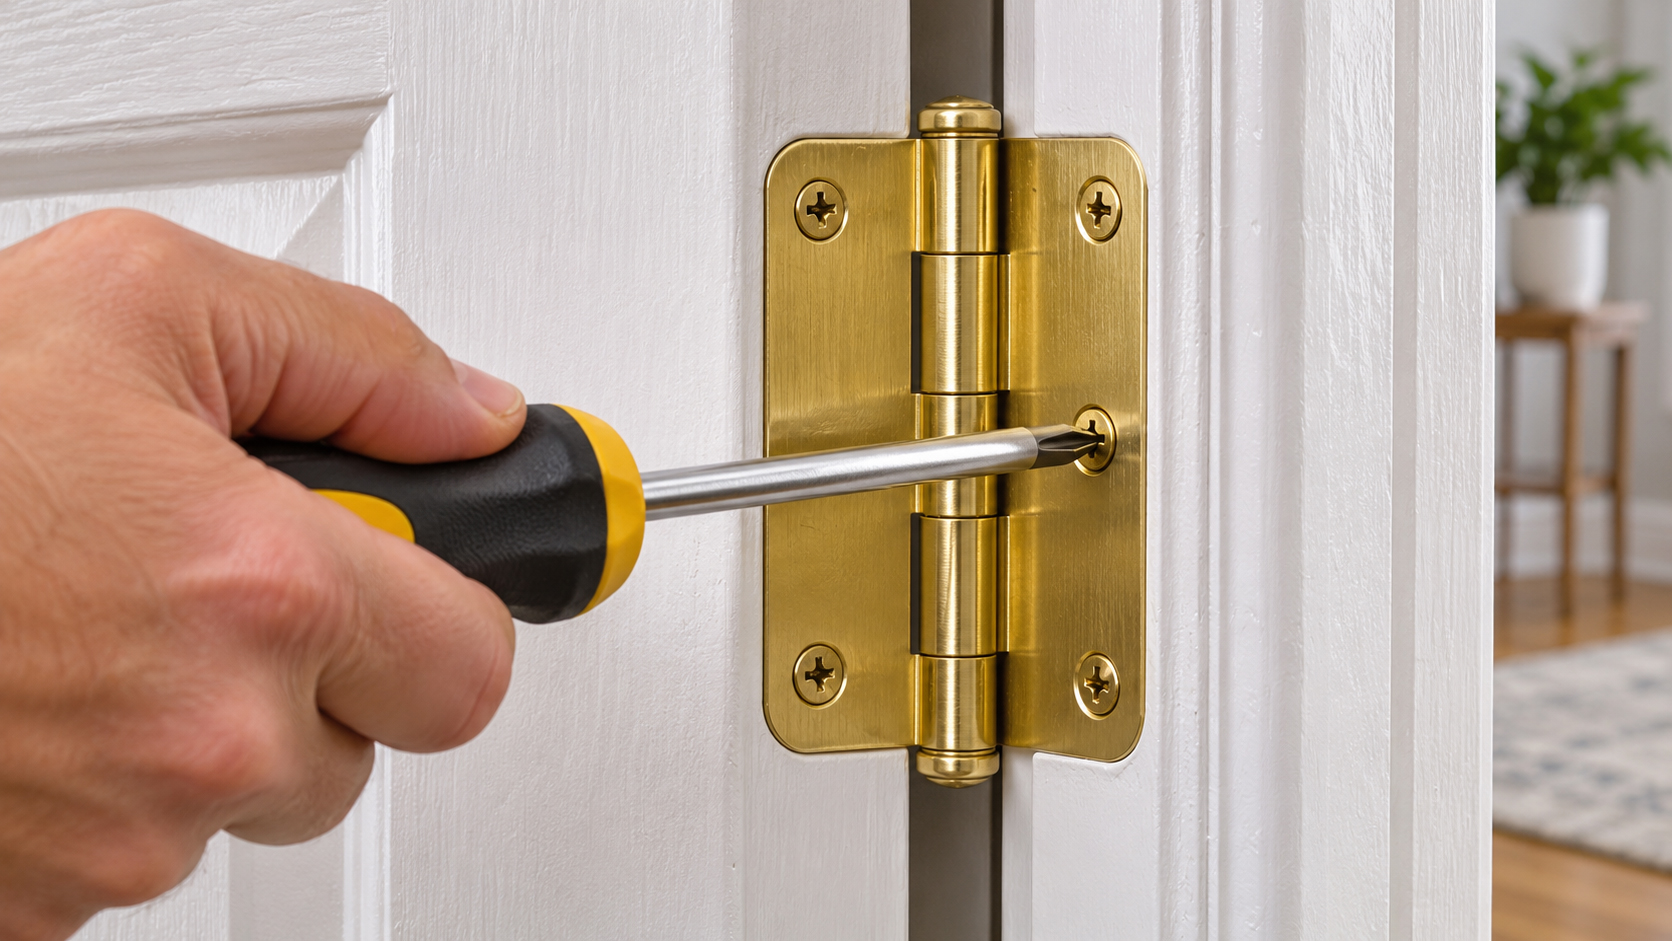
A squeaky door that continues making noise after lubrication may have a different mechanical problem.
Check these areas before deciding whether to replace the hinge.
Check for Loose Hinge Screws
Inspect the screws on both the door-side and frame-side hinge plates.
If a screw is loose, tighten it carefully with an appropriate screwdriver. Avoid excessive force because overtightening can damage the screw head or strip the wood.
If the screw continues spinning without tightening, the mounting hole may be damaged. This requires a separate screw-hole repair rather than additional lubricant.
Inspect the Door Alignment
Look at the gaps between the door and its frame.
Uneven gaps, visible rubbing marks, or difficulty closing the door may indicate alignment problems.
Lubrication cannot correct a door that is sagging or rubbing against the jamb. The hinge mounting, frame, and door position may need adjustment.
If you discover a gap around the door opening, you can also refer to our guide on how to seal gaps between a door frame and wall. However, remember that sealing a stationary frame-to-wall gap is different from correcting a misaligned door.
Inspect the Hinge Pin and Knuckles
Check for visible rust, bent pins, damaged knuckles, or unusual movement.
A severely worn hinge may continue making noise even after lubrication. In that situation, replacing the damaged hardware may be more appropriate than repeatedly applying lubricant.
ASSA ABLOY’s hinge maintenance guidance also emphasizes checking hinge function, lubrication needs, and loose screws, as well as replacing worn or damaged hinges. ASSA ABLOY
How to Clean and Lubricate a Hinge Pin Without Removing the Door
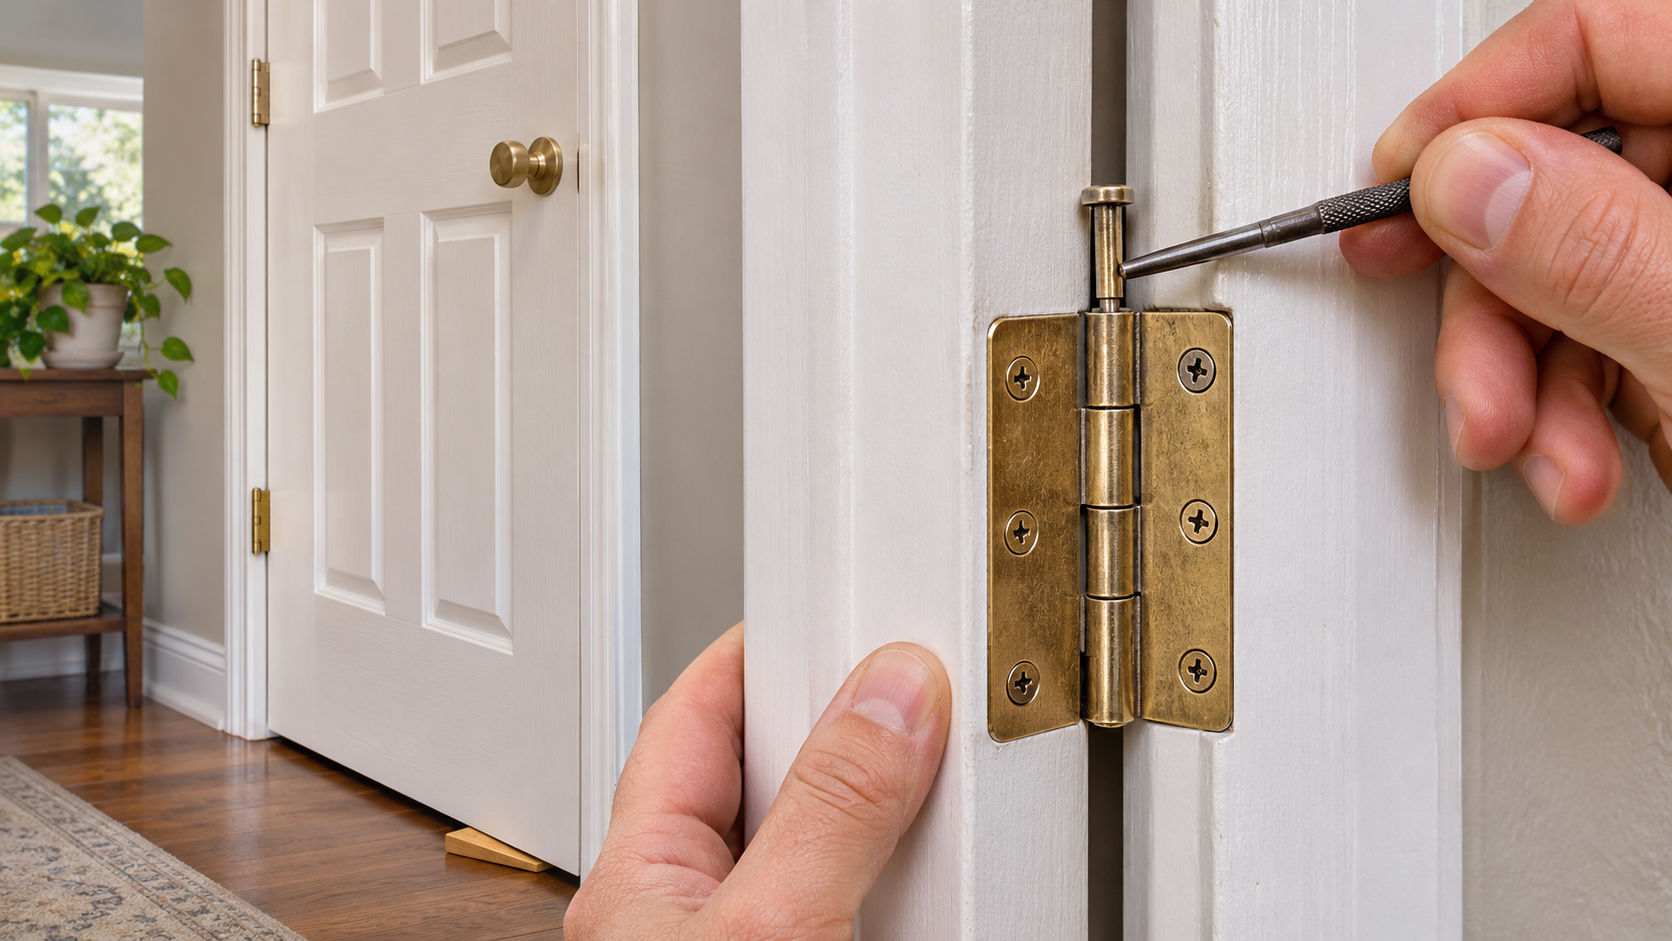
If basic lubrication does not solve the problem, a more thorough inspection may be necessary.
On a conventional butt hinge with a removable pin, you may be able to service the pin while keeping the door attached to its other hinges.
This is an optional maintenance method, not a requirement for every squeaky door.
- Check the hinge design. Confirm that the hinge has a removable pin and that the manufacturer permits pin removal.
- Support the door. Use a suitable door support or have another person stabilize the door, especially if it is heavy.
- Work on one hinge at a time. Never remove multiple hinge pins simultaneously.
- Remove the pin carefully. Use an appropriate pin punch if the pin is designed to lift out. Do not force a fixed or security pin.
- Clean the pin. Wipe away dirt, old lubricant, and loose surface residue using a clean cloth and a suitable soft brush.
- Apply the recommended grease. Follow the hinge manufacturer’s instructions. For its standard hinges, Hager recommends coating the pin with lithium grease before reinstalling it.
- Reinsert the pin completely. Confirm that it is properly seated before removing the support or moving on to another hinge.
- Test the door. Open and close it slowly, then check for any remaining squeaking.
Important: This method keeps the door attached to the remaining hinges, but it temporarily removes one hinge from supporting the door. Do not attempt it alone on a heavy door or when the remaining hinges cannot safely support the load. If the door has only two hinges, is unstable, or has specialty hardware, seek assistance rather than risking a fall.
What About Fixed-Pin, Concealed, or Spring-Loaded Hinges?
Not every hinge is designed for conventional pin removal.
- Fixed-pin hinges: Some models include a designated lubrication port. Hager, for example, describes a fixed-pin Hospital Tip hinge that uses a specific lubrication port and white lithium grease.
- Concealed hinges: Follow the manufacturer’s maintenance instructions. Do not assume their internal mechanisms can be lubricated like a standard butt hinge.
- Spring-loaded hinges: Avoid dismantling or releasing the spring mechanism without the correct procedure and tools.
- Continuous or geared hinges: These may have different maintenance requirements from conventional residential butt hinges.
The Hager example illustrates why identifying the hinge model matters: its fixed-pin design uses a specific lubrication arrangement rather than conventional pin removal.
Common Mistakes to Avoid
A small repair can become more complicated when the wrong maintenance method is used.
Avoid these common mistakes:
- Applying too much lubricant: Excess product can drip and collect dirt.
- Using an unsuitable lubricant: Different hinge designs and manufacturers may specify different products.
- Ignoring loose screws: Lubrication will not repair a loose hinge mounting.
- Forcing a fixed hinge pin: Some pins are designed to remain in place.
- Removing multiple pins at once: This can destabilize the door.
- Ignoring visible corrosion or damage: Severely damaged components may need replacement rather than lubrication.
When Should You Call a Professional?
Most minor squeaking problems can be investigated through basic cleaning and lubrication. However, some conditions require more advanced repairs.
Consider contacting a qualified carpenter or door hardware specialist if:
- The hinge leaf is cracked, bent, or severely corroded.
- The door is visibly sagging or significantly misaligned.
- Hinge screws have pulled out and the mounting area is damaged.
- The door is unusually heavy or difficult to support.
- A spring-loaded or specialty hinge requires internal adjustment.
- Repeated lubrication and basic troubleshooting do not solve the noise.
If the door is part of a fire-rated or other required safety assembly, do not modify its hardware without appropriate qualified guidance.
A professional can inspect the hinge, mounting structure, and door alignment to determine whether repair or replacement is necessary.
Frequently Asked Questions
Can I fix a squeaky door hinge without removing the hinge pin?
Yes. Start by cleaning the exposed hinge surfaces and applying a small amount of compatible lubricant to the accessible moving joints. Move the door several times to distribute the product and wipe away excess lubricant. This method may be sufficient for minor friction problems.
Can I use WD-40 on a squeaky door hinge?
WD-40 Multi-Use Product is identified by its manufacturer as suitable for lubricating metal hinges. However, it is important to distinguish a general-purpose product from the long-term maintenance recommendation for a particular hinge.
For example, Hager recommends lithium grease for its standard hinges and advises against light oils for that application. Check the hinge manufacturer’s guidance before choosing a product.
What is the best lubricant for door hinges?
There is no universal answer. Silicone spray, white lithium grease, PTFE dry lubricant, and light machine oil have different characteristics.
For a standard hinge, start with the manufacturer’s recommendation. White lithium grease is specifically recommended for Hager’s standard hinges, while other products may specify different lubricants or application methods.
Why does my door hinge still squeak after lubrication?
The lubricant may not have reached the friction point, or dirt, corrosion, worn components, and hinge misalignment may be contributing to the problem. The noise may also come from the door rubbing against the frame or the latch contacting the strike plate. Inspect the complete door assembly before applying more lubricant.
How often should door hinges be lubricated?
The maintenance interval depends on hinge design, frequency of use, load, and environmental conditions.
ASSA ABLOY recommends checking hinge function, lubrication needs, and loose screws at least annually in its maintenance guidance. Hager recommends regular lubrication checks and specifically identifies annual lubrication for commercial high-frequency applications or extreme environmental conditions. Follow the maintenance instructions for your own hardware rather than applying one schedule to every residential hinge.
Final Thoughts
A squeaky door hinge does not always require removing the door or replacing the hardware. Start by identifying the noisy hinge, cleaning visible dirt, and applying a suitable lubricant to the moving joints.
If the sound continues, inspect the hinge screws, pin condition, and door alignment before attempting a more involved repair. For specialty hinges, damaged hardware, or unstable doors, follow the manufacturer’s instructions or seek professional assistance.
With the right diagnosis and maintenance approach, you can often restore quieter door movement without taking the entire door off its hinges.

Royan Abdillah is a home improvement enthusiast and interior design consultant with over 9 years of experience in the industry. Passionate about blending aesthetics with functionality, Royan Abdillah specializes in unique DIY furniture and pet-friendly home solutions. Through this blog, Royan Abdillah aims to help homeowners create beautiful, personalized spaces on a budget.