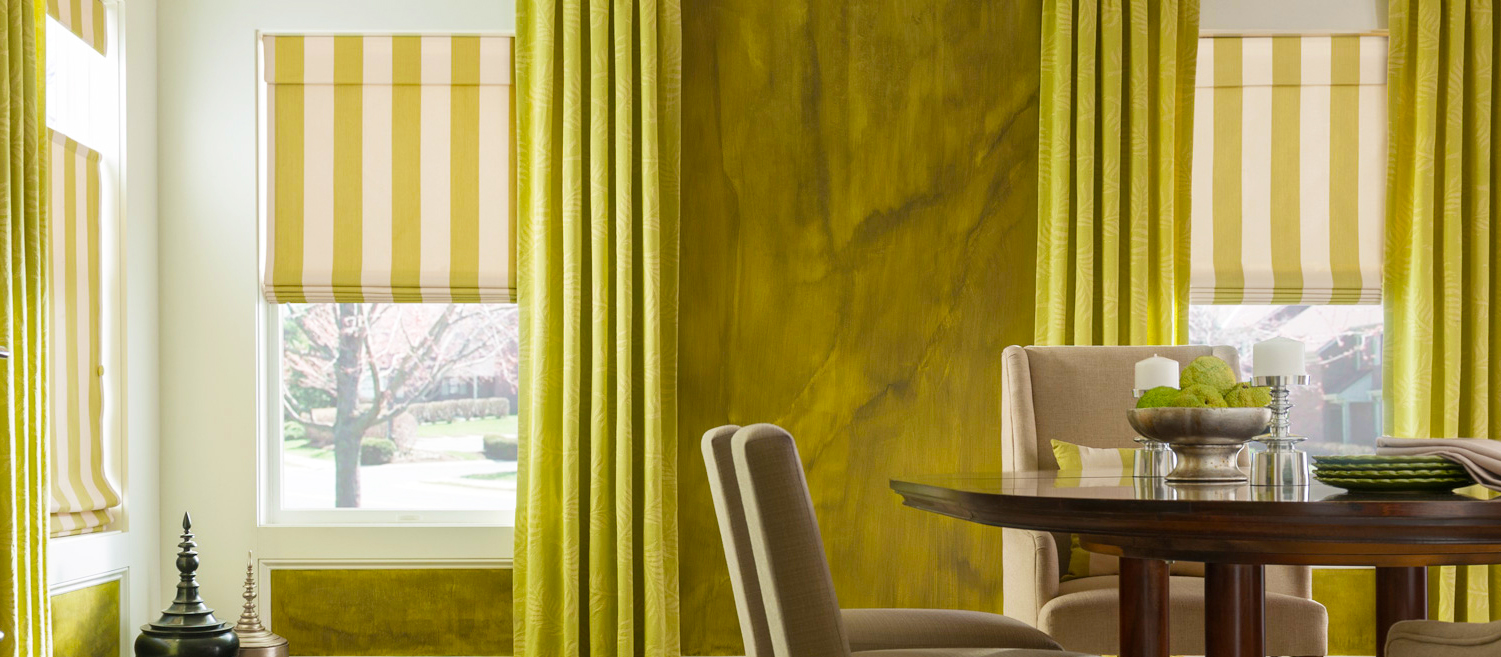
Unlike the usual curtains and blinds, roman blinds create a smooth silhouette and allow you to adjust how much light coming into the room. The working principle roman blind is similar with roller blinds. The difference is, when the retractable / opened, roman blinds are not forming rolls such as roller blinds, but forms folds tiered stacking. Roman blinds not only classic and contemporary, but it also does not require a lot of special devices so that the blinds can be installed easily by anyone. To do that follow this instruction for make roman blinds diy in home.
Roman Blinds Diy Tutorial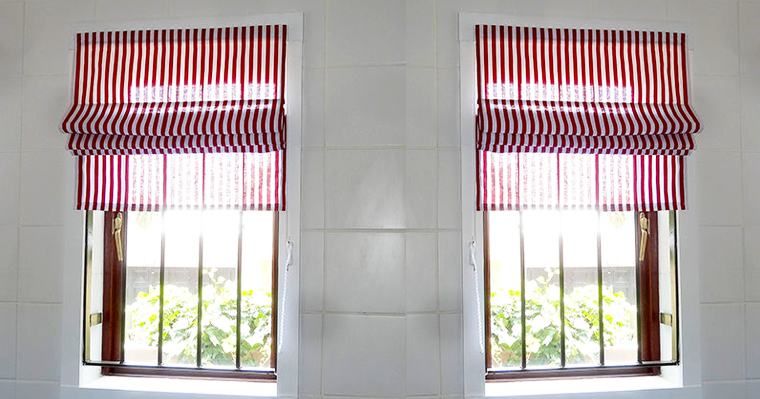
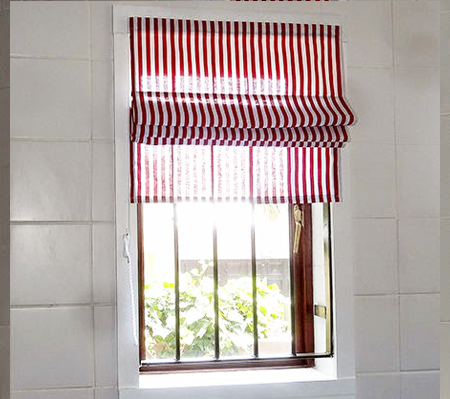
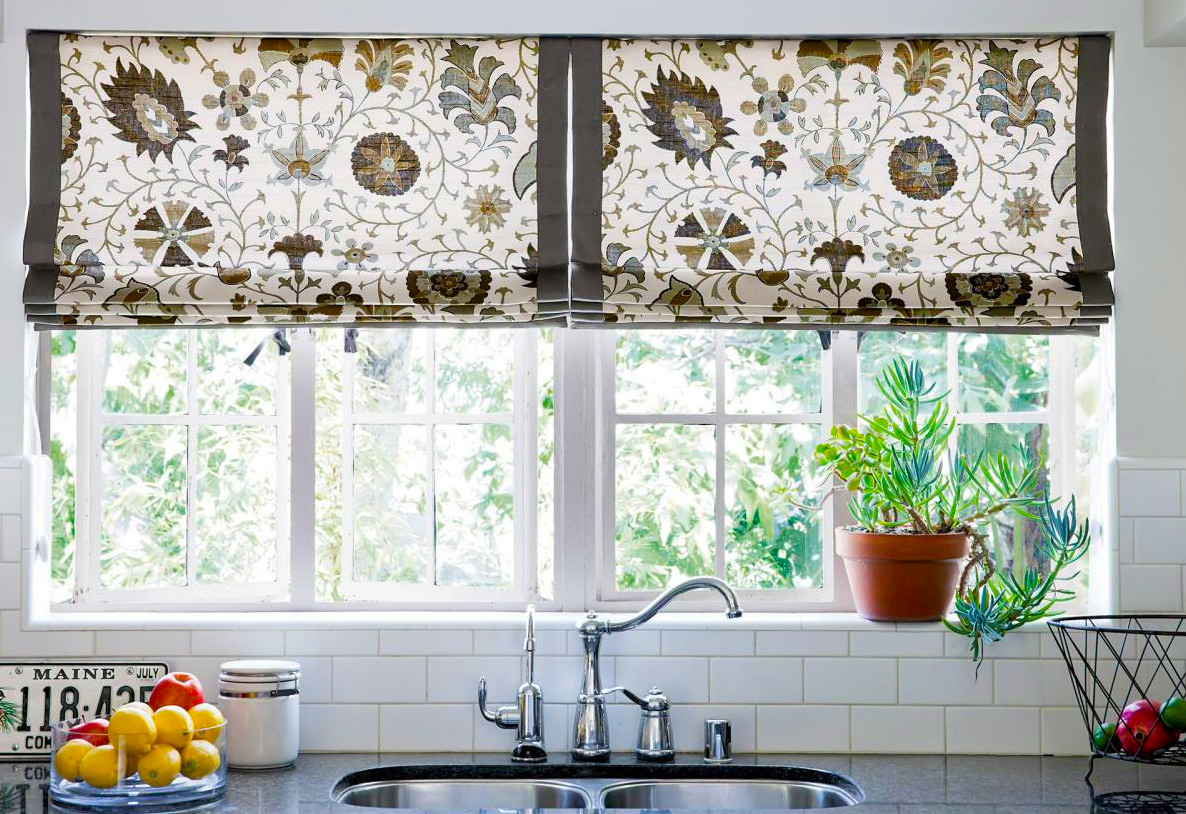
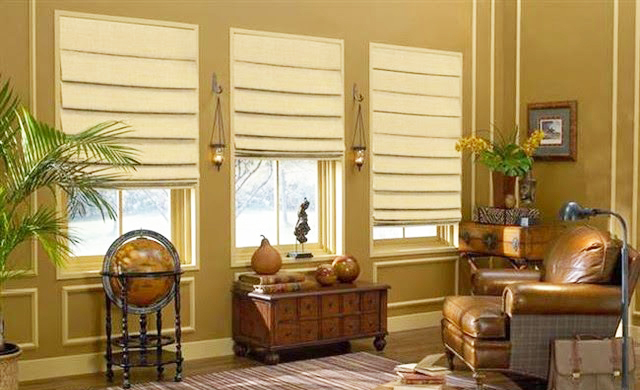
Roman blind give a final touch were clean and stylish, and very save fabric. The Folds add softness to the room without losing the neatness and contemporary appearance of the room. A roman blind is very appropriate to show off bold design, because the fabric will be stretched out flat when the blind dangled down.
Tools and Materials
- Carpentry basic tool
- Basic sewing supplies
- Face fabrics
- Furing fabrics
- Suite sewing yarn
- Baten of wood (approximately 5×2 cm) the width are same as the blind
- A few pieces of wooden dowel, the width is same as the blind minus 2 cm
- Screw eyes
- Rope blind from smooth nylon
- Lever-puller made from wood or nylon
- Cleat
- Elbow angle and screws for installation to the wall
Matches Materials Fabrics
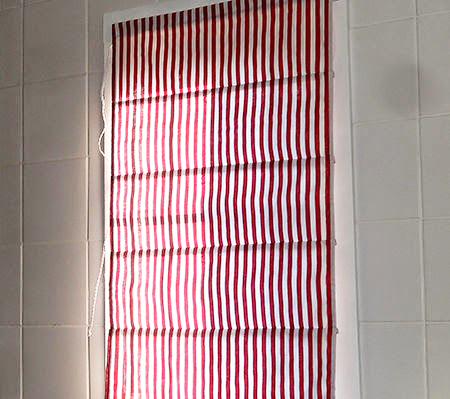
Roman blind does not need to be folded when it is raised. You can use a thicker fabric, for example, padded furniture upholstery material. If you want to use a thinner fabric, add the thickness with furing. You can make a roman blind from the thin and translucent fabric, but the fabric like that should be cut and sewn with neatly, because if not, his disability can be seen.
Doing Measurement
Measure the window as instructed article measuring the blind

Cut
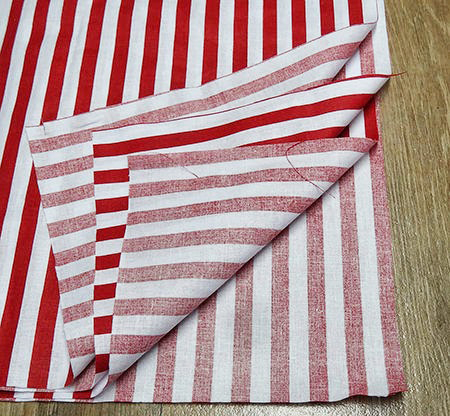
1. Add 6 cm in the width of blind for the fold, and add 15 cm in the length of blind for the top fold and the bottom fold. Cut the material follows these sizes.
2. Cut the furing with the same length as face fabric, and same width with the final size of the blind. You’ll need extra furing for dowel pocket.
Make Roman Blinds Diy
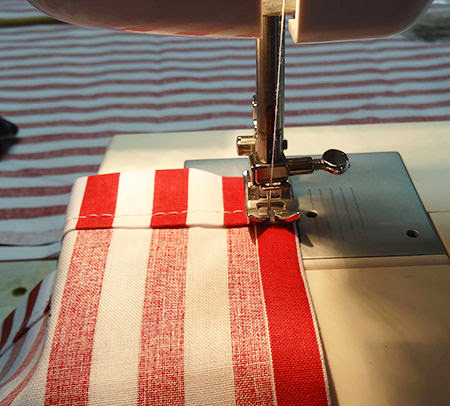
1. Expand the fabric face above the furing with a good part of the fabric facing each other, top and bottom edges are flat. Embed the seams left with the flat edges and create a seam 1.5 cm from the edge with a sewing machine. Repeat for the seam right.
2. Turn the inner fabric to the outer side and ironing the seams until smooth so that the fabric face in the same distance, seen on each side at the back.
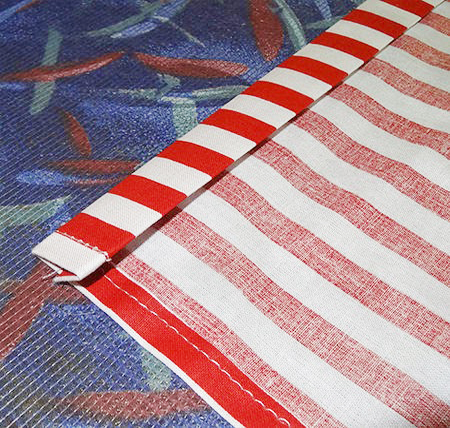
Finish the Bottom Edge
Fold 5 cm of fabric to the back (towards furing) along the bottom end and iron. Fold again as wide as 5 cm and irons again. Sew around the folds with the sewing machine.
Make Pockets Dowel
1. The amount of dowel that you need depends on the length of the blind. The first dowel should be spaced 10-12 cm from the bottom. For each next dowel is placed at regular intervals every 20-25 cm. Cut a piece of furing fabric for each dowel: the width is 5 cm and the length is equal to the width of blind added with 2 cm.
2. Make midline which divides two lengths of each strip with a pencil. Invert and irons 1cm hem along the ends of long and short of fabric.

3. Create a slim line with a pencil on the back of the blind, where the pockets of dowel will be placed. Embed the one furing strip on each pencil lines and sewing every strip in place with a sewing machine, with the inside of the fabric is facing up.
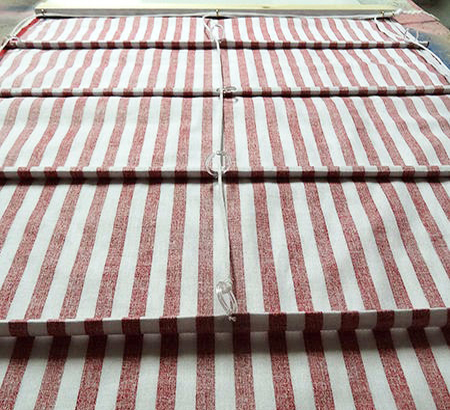
Installing the Dowel and the Ring
1. Fold each strip of furing into two and sewing along the folded edges. Insert a dowel, cut till the length is same as the width of the window minus 4 cm, goes into each pocket. Sew the edges with stab skid to close it.
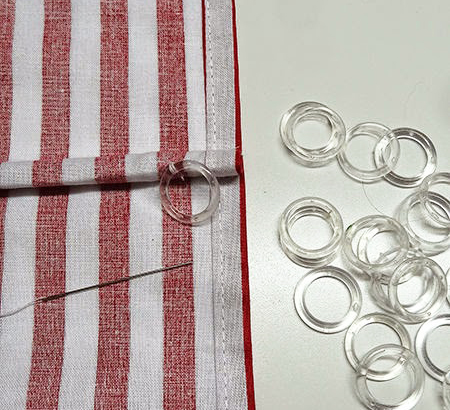
2. Sew the two rings on each bag dowel as far as 1 cm from each of end. Add one or two vertical rows between them so that the rings are mutual with a distance about 30 cm, except if the blinds are narrow.
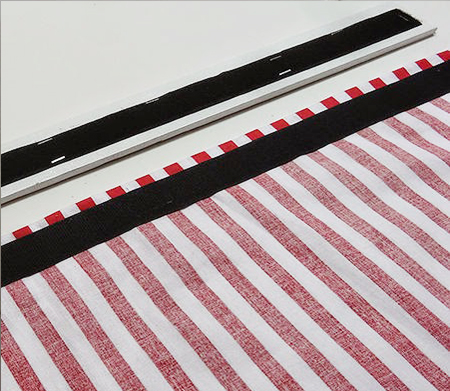
Finishing the Top Edge
Fold 5 cm in the upper blind on battens and install with a staple gun or small nails. Check whether the blind was hanging straight or not.
Installing the Blind Ropes

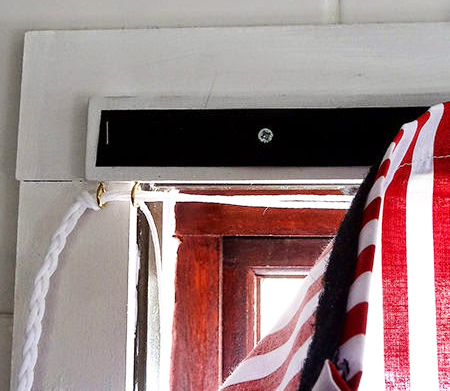
Attach a screw eye at the bottom of the batten, on top of each row of rings. Insert a rope on each of row, tied to the lowest ring, and bring passes the screw eye on the top so that all appear on the same tip. Tidy up the ropes so that the length are same and install lever pullers. Knot the ends of rope so that the lever can not be separated.
Installing the Blinds
Install the blind in the window frame using the elbow angle. Attach a cleat to the wall or window frame, and coil the rope around the cleat to raise and hold blind at a height that you want.
So, that is roman blinds diy instruction for windows decorations. Hopefully, this article can helpful for the readers. Thank you for visit our blog. Do not forget to share this article for helpful the others readers. 🙂
Royan Abdillah is a home improvement enthusiast and interior design consultant with over 9 years of experience in the industry. Passionate about blending aesthetics with functionality, Royan Abdillah specializes in unique DIY furniture and pet-friendly home solutions. Through this blog, Royan Abdillah aims to help homeowners create beautiful, personalized spaces on a budget.