A wooden fence is one of the essential items that can add privacy and increase home security. Not only have that, but the wooden fence also gives a traditional look to the design landscape that you apply. If you’re looking for some privacy fence ideas, here are step-by-step instructions for laying out and installing dog ear picket fence panels.
See also: Temporary Dog Fence Ideas with 5 Type Easy Dog Fence
Tips To Install Wood Fence You Should Know
-
Preparing to build a fence
Before installing the fence, you need to prepare all components – from the material, check local codes, and determine the permit necessity. It is essential to know the property lines and discuss your plans with neighbours to align your fence line. Then choose a layout that will allow you to use full pickets at the corners. Also, consider gear hardware since each set attaches differently.
-
Installing a Shadowbox Wood Fence
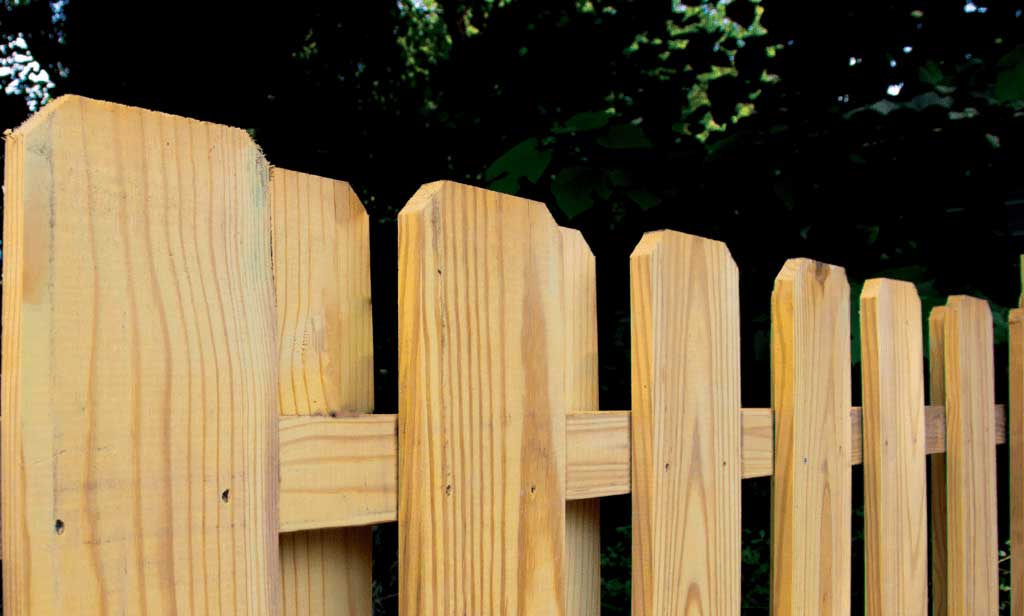
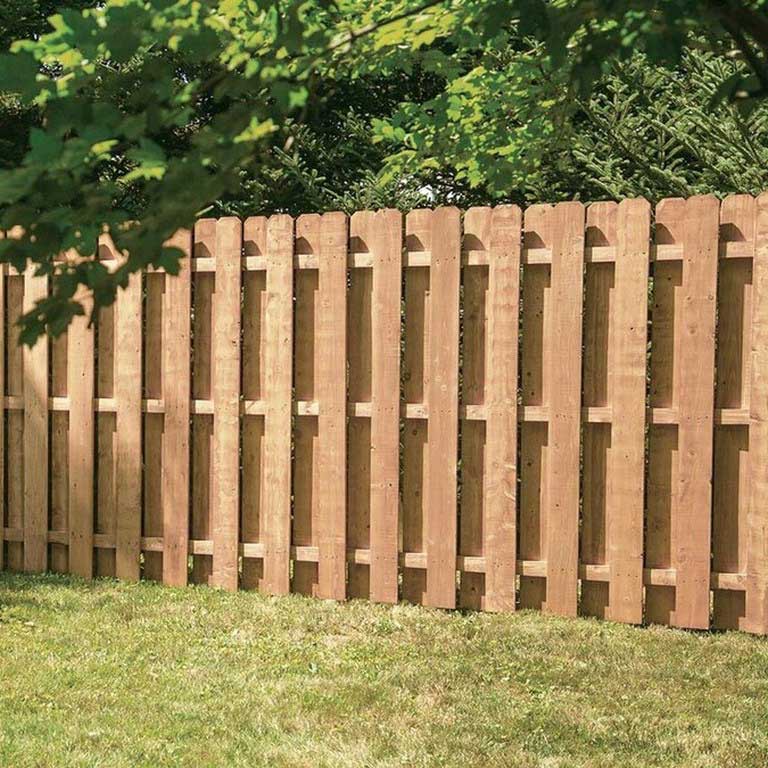
The shadowbox fence has pickets alternating on each side, presenting approximately privacy but letting you look through the wall at a certain angle. A solid fence has all fence posts devoted tightly together on the external only. With this in mind, dog ear picket fence panels will block views and give you complete privacy in your home.
-
Fence Layout and Post Location
To mark the layout and establish the best post locations, mark the layout first. Then, use string and batter boards to lay out the batter boards beyond where your fence corners turn strings between them. Keep strings 6 inches away from your property line. In this case, the strings help you line up the posts.
-
Dig Post Holes
After that, you need to dig the holes in size. Some codes might necessitate the depth to the frost line, which typically waters in the soil freeze. It will help you to prevent heaving when the ground pushes up posts. Then, frost lines according to the region in the diameter hole about three times the width of the bar to install dog ear picket fence panels.
-
Install the Fence Rails
In the following steps, you need to install fence rails. Step one, mark the rail locations on the posts with 6-foot pickets. Then, measuring the bottom rails’ upper edge should be about 9 – ½ inches above the ground. The next step, begin installing the fences and attach the remaining rails. Don’t forget to attach the boards and trim the top posts.
-
Install the Fence Gate
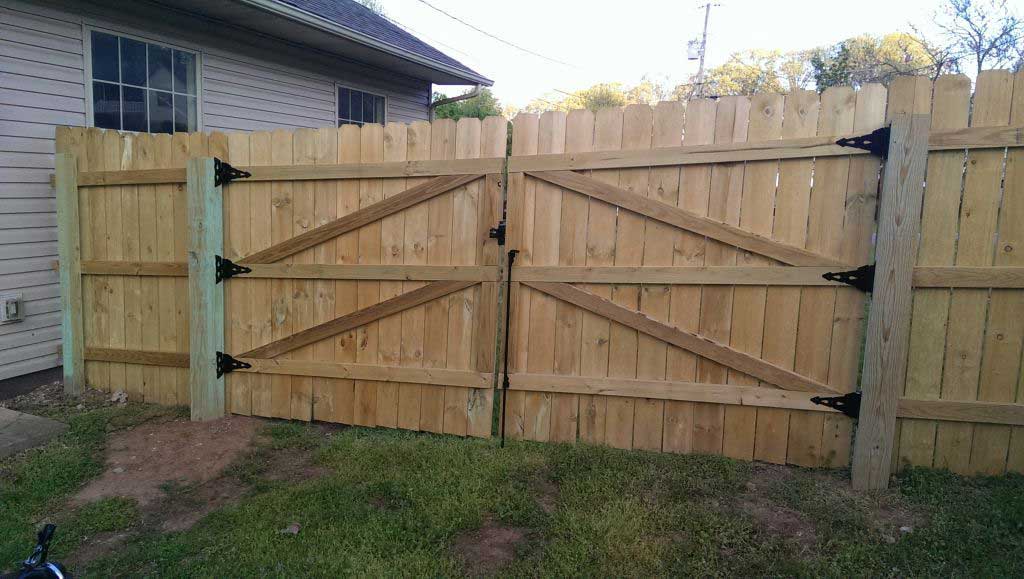
After that, you need to build a fence gate by measuring the space between posts and rails. Then, assemble the frame and install a middle rail for the following process. Remember, hang the structure and give the latch. As the complement to install dog ear picket fence panels, you need to attach rods to the frame. Wait for a few months before painting or staining to allow the lumber to dry completely.
All in all, installing the fence is not as difficult as you think. It is because you can follow the guidelines and instructions to put in it. Don’t forget to use wood rated for ground contact when necessary for the project. In addition, you don’t need to burn pressure-treated lumber if you want to save while installing the project.
See also: Cheap Fence Ideas For Dogs in DIY Reusable and Portable Dog Fence
Royan Abdillah is a home improvement enthusiast and interior design consultant with over 9 years of experience in the industry. Passionate about blending aesthetics with functionality, Royan Abdillah specializes in unique DIY furniture and pet-friendly home solutions. Through this blog, Royan Abdillah aims to help homeowners create beautiful, personalized spaces on a budget.